Mini Wreath Ornaments: Three Easy Ways to Make One
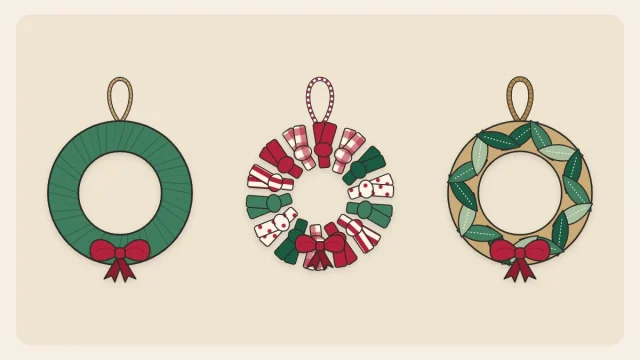
Cut a small cardboard ring and turn it into a tiny wreath three ways: wrapped in yarn, knotted with fabric strips or layered with felt leaves, then add a bow and a loop that hangs straight.
Handmade Christmas Ornaments to Make
Step-by-step tutorials for Christmas tree ornaments made from paper, felt, fabric scraps and natural finds, using simple supplies and clear instructions.
New to making ornaments? Read these three guides in order: a first project, the supplies to gather, and how to add a hanging loop.
Learn what makes an ornament project truly easy, which first project to try in yarn, paper, felt and natural materials, and three habits that make any handmade ornament look finished.
A short, practical list of the tools and materials you need to start making Christmas ornaments, which glue suits which material, and the extras that can wait.
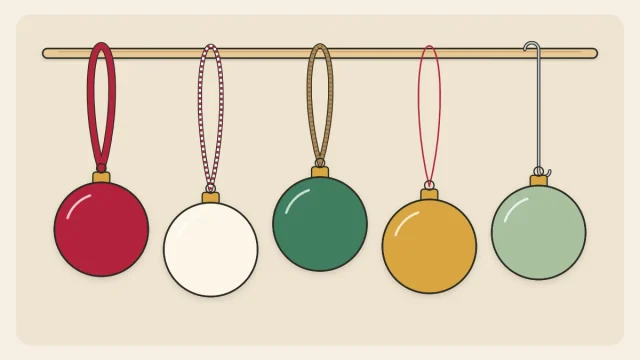
Choose the right ribbon, twine, thread or wire hook for a handmade ornament, cut it to a sensible length, attach it five different ways and find the balance point so it hangs straight.
Simple projects in yarn, craft sticks and other forgiving materials.
Cut a small cardboard ring and turn it into a tiny wreath three ways: wrapped in yarn, knotted with fabric strips or layered with felt leaves, then add a bow and a loop that hangs straight.
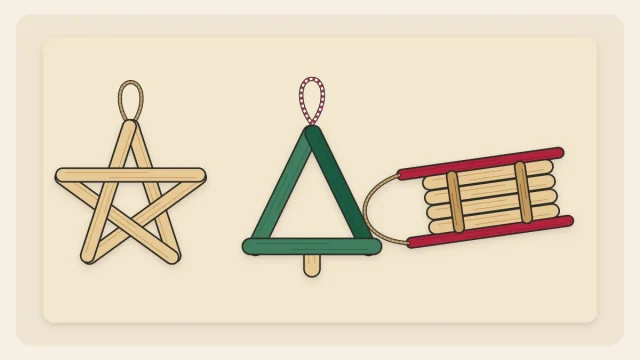
Glue wooden craft sticks into a five-point star, a triangle tree with a trunk and a small sled. Clear overlap points, drying advice and simple ways to decorate.
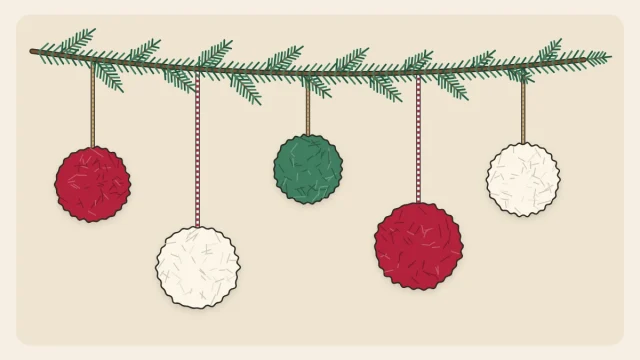
Make fluffy pom-poms with a fork or two cardboard rings, trim them into neat spheres, and hang them as single baubles, clusters of three or a small ring.
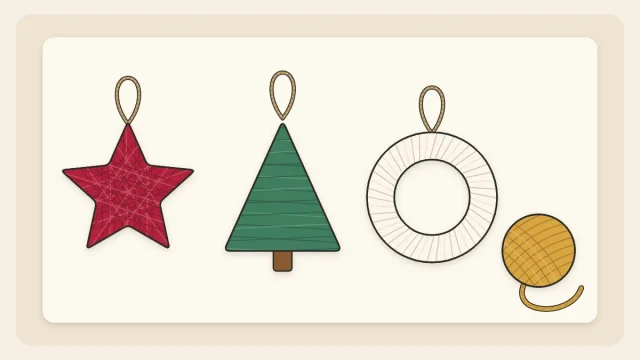
Cut a ring, tree or star from stiff cardboard and wrap it in yarn. Step-by-step wrapping for each shape, how to cover star points, and simple two-color ideas.
Stars, snowflakes, strip balls and small trees cut and folded from paper.
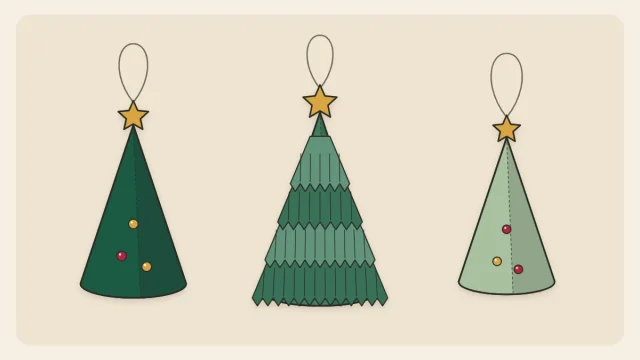
Roll a half or quarter circle of paper into a cone, add a thread loop through the tip, then dress it with fringed tiers, a punched dot garland and a tiny star.
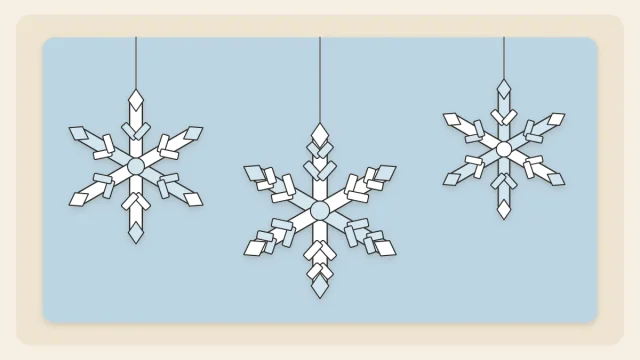
Build sturdy six-point snowflakes from three crossed cardstock strips and small glued details, using a simple drawn guide to keep the arms evenly spaced.
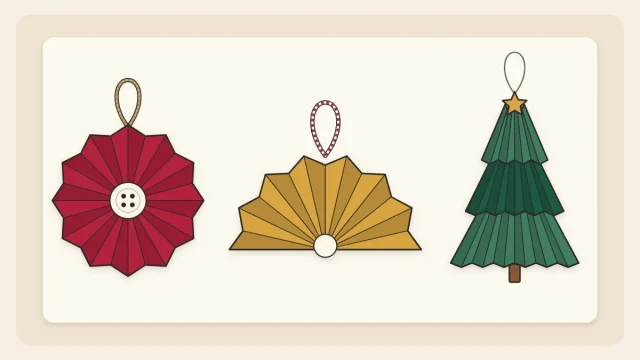
Learn to score and pleat a paper strip, then turn it into three ornaments: a round rosette, a half fan and a small tiered tree, using only paper, glue and thread.
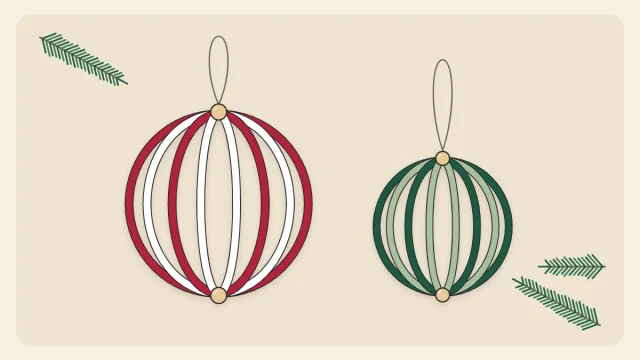
Cut ten equal cardstock strips, punch a hole at each end, pin them with paper fasteners or thread and beads, and fan them out into a round ornament. Includes a strip length and ball size chart.
Soft ornaments from felt and fabric scraps, sewn by hand or made with no sewing at all.
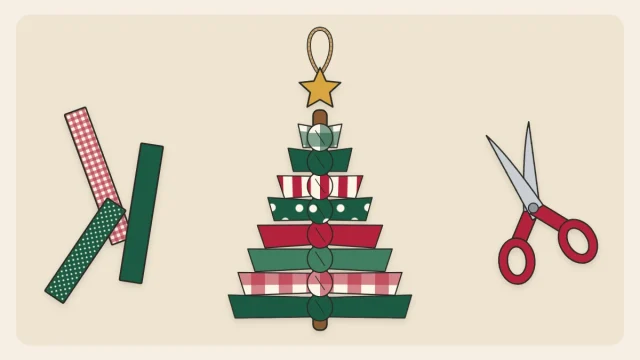
Knot fabric or ribbon strips along a twig, trim them into a triangle and add a star and twine loop. A quick no-sew tree ornament with guidance on strip sizes and a clean taper.
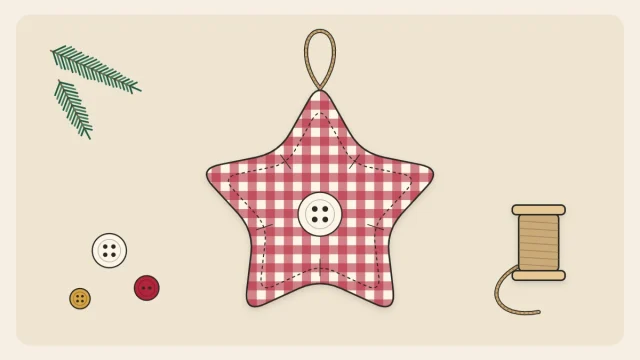
Sew a plump cotton star by hand with backstitch and ladder stitch. Step-by-step help with the tricky parts: clipping inner corners, turning the points and stuffing them evenly.
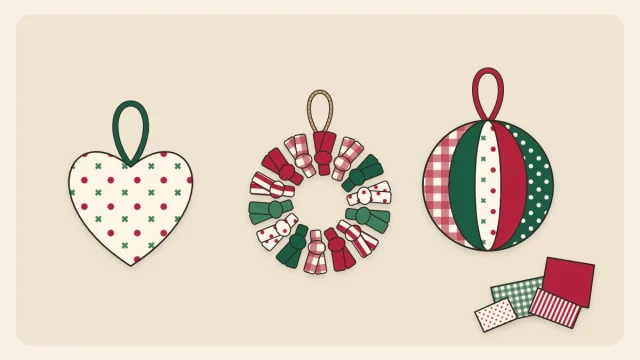
Turn leftover cotton into three no-sew tree ornaments: fabric-covered card shapes, a ring of knotted strips and a tucked fabric ball, using only scissors and cold craft glue.
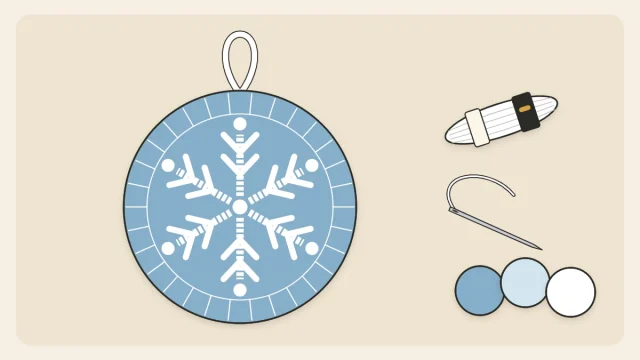
Embroider a six-spoke snowflake design on a felt circle with backstitch, V stitches and French knots, then back it and blanket stitch the edge. Includes a glued no-stitch version.
Pinecones, twigs, cinnamon sticks and wood slices turned into tree decorations.
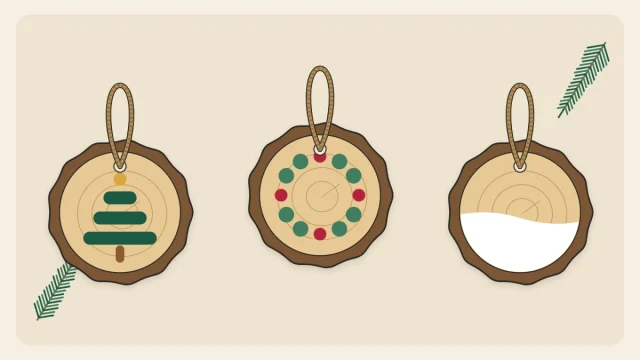
Turn bought pre-cut wood slices into rustic tree ornaments with three easy painted designs: a three-stroke tree, a wreath of dots and a snowy half-dip, plus how to hang slices that have no hole.
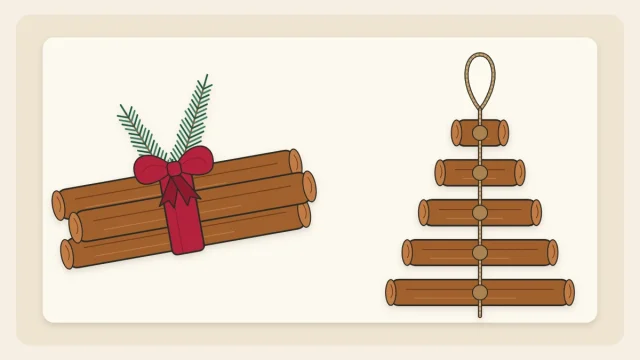
Make three decorative cinnamon stick ornaments: a ribbon-tied bundle with a sprig, a tiered tree knotted on twine and a small triangle frame, with tips on choosing straight sticks.
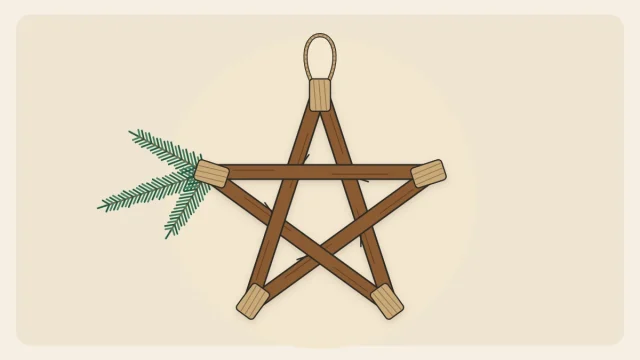
Make a rustic five-point star from five dry twigs and jute twine. Learn how to choose and trim the twigs, weave them over and under, and bind each point so it stays tight.
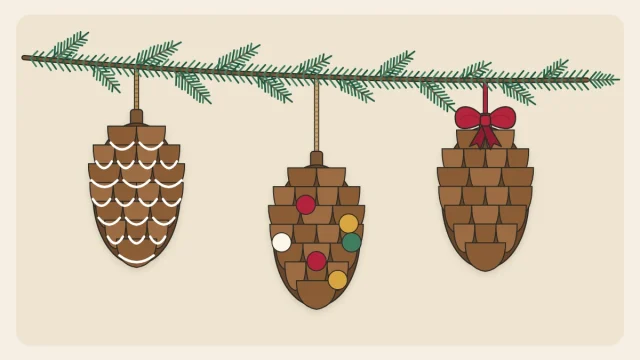
Clean and air-dry pinecones, add a secure hanging loop, then decorate them three ways: white-tipped scales, tucked pom-poms or beads, and a ribbon bow topper.
Hanging loops, embellishing, finishing and storing: the skills every project shares.
Pack paper, felt, natural and painted ornaments the way each material needs, using divided boxes, egg cartons, tissue and clear labels, then check and repair them when you unpack.
Tidy threads, glue and edges, choose between matte, satin and gloss brush-on sealer, add a neat backing and dry everything properly so your handmade ornaments look complete and last.
Decorate handmade ornaments with buttons, beads, sequins, four easy embroidery stitches and flat trims, and learn three placement rules that stop a design from looking cluttered.
Choose the right ribbon, twine, thread or wire hook for a handmade ornament, cut it to a sensible length, attach it five different ways and find the balance point so it hangs straight.
The most recently published tutorials from every category.
Start a yearly ornament tradition with five simple keepsake formats: a year disc, a fabric scrap, a leaf imprint, a ribbon-length keepsake and a memory tag, plus how to date and store them.
Five ways to add a name, initial or year to a handmade ornament without special equipment: paint pen lettering, stitched initials, stamped clay, paper tags and letter beads, with spacing tips.
Roll air-dry clay to an even 1/4 in (6 mm), press in lace or a sprig, cut shapes, punch a hole with a straw and dry them flat. Then sand, paint and seal for light, decorative tree ornaments.
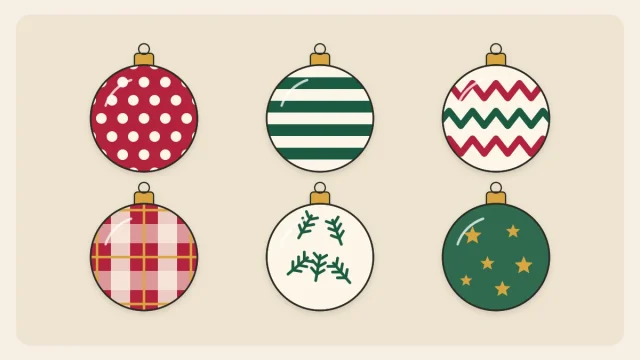
A pattern library for people who cannot draw: dots, stripes, zigzags, plaid, sprigs, stars and snowy dots, with tips on choosing a three-color palette and spacing marks evenly.
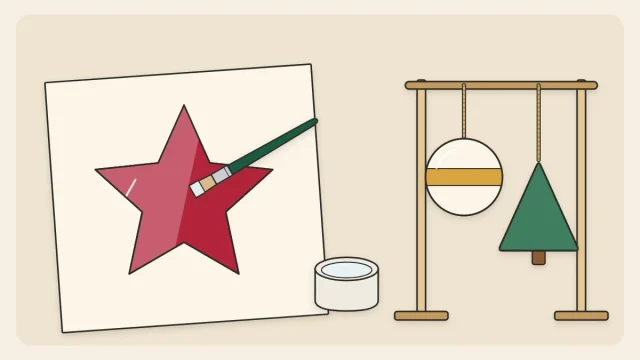
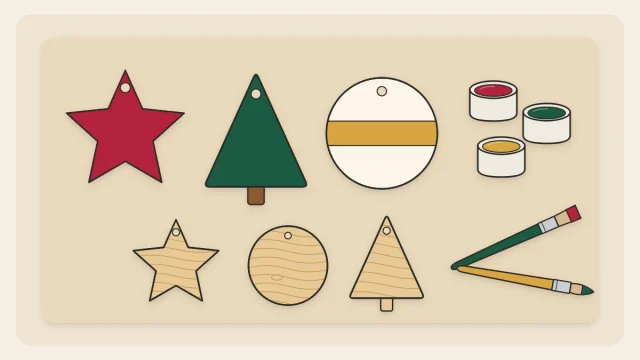
Learn the acrylic basics for painting blank wooden discs, stars and trees: sanding, thin base coats, painted edges, a crisp taped band and simple fixes for smudges and drips.
Turn bought pre-cut wood slices into rustic tree ornaments with three easy painted designs: a three-stroke tree, a wreath of dots and a snowy half-dip, plus how to hang slices that have no hole.
Pick one easy project, gather a few basic supplies, and add new techniques as you go. Every tutorial on the site is free to read, with no sign-up needed.