Easy Christmas Ornaments for Beginners: Where to Start
Learn what makes an ornament project truly easy, which first project to try in yarn, paper, felt and natural materials, and three habits that make any handmade ornament look finished.
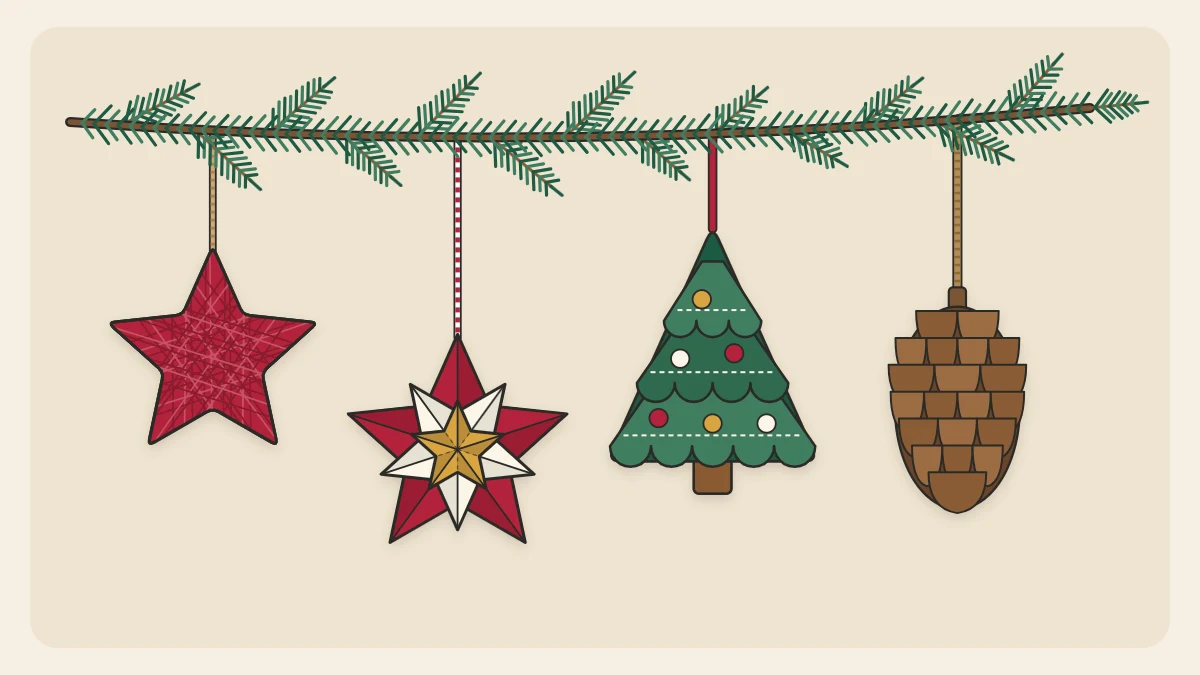
The best easy Christmas ornaments have three things in common: very few cuts, glue that works at room temperature, and materials that forgive a wobbly hand. If you have never made a tree ornament before, that is the whole filter you need. Anything that passes it can be finished at a kitchen table in an evening.
This page is a starting map. It explains what “easy” really means, points to the gentlest first project in each material family, and ends with three small habits that make a beginner’s ornament look deliberate instead of rushed.
What makes an ornament project easy
Difficulty in ornament making rarely comes from the idea. It comes from the number of precise steps between you and the finished piece. A project is beginner-friendly when it keeps those steps low.
- Few cuts, mostly straight. Straight lines and gentle curves are easy with ordinary scissors. Tight inside curves and tiny details are not.
- Cold glue. White craft glue, thick tacky glue and glue sticks give you time to slide a piece into place before they grip. Nothing has to be rushed.
- Forgiving materials. Yarn hides gaps, felt does not fray, and cardstock holds a crease. Slippery ribbon and thin tissue are better saved for later.
- A flat shape. Stars, discs, trees and rings that lie flat while they dry are far simpler than anything built in three dimensions.
You do not need much equipment either. The basic kit fits in a shoebox, and the guide to ornament making supplies sorts the essentials from the nice-to-haves.
The easiest project in each material family
Most handmade tree ornaments fall into four families. Each one has a natural entry point that teaches the core skill without asking for much else.
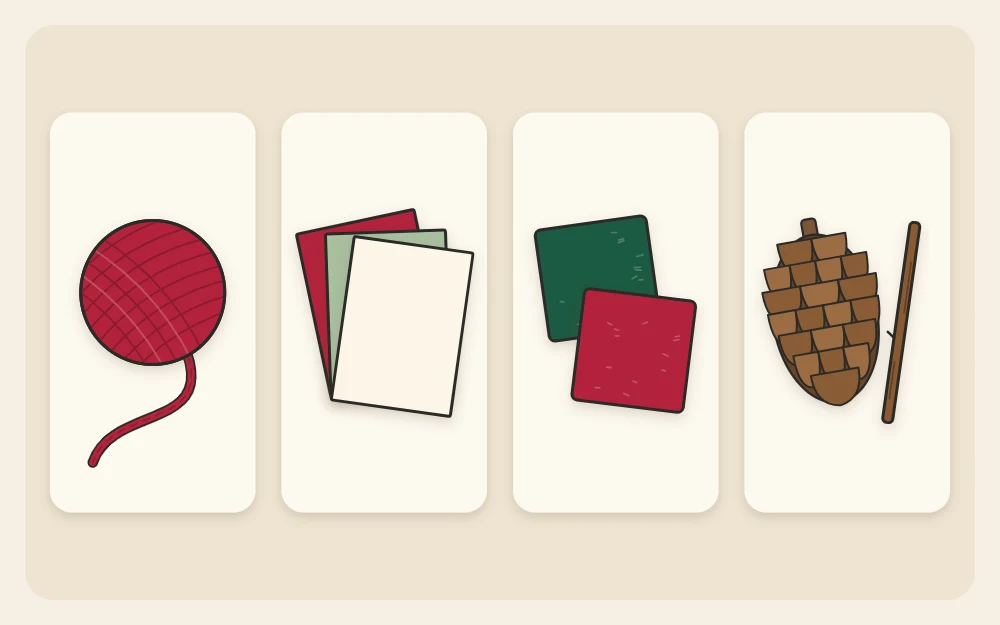
Yarn: a wrapped cardboard shape
Cut a simple shape from stiff cardboard, anchor the yarn with a dab of glue and wind until the cardboard disappears. There is no measuring and no sewing, and a rough cut is hidden completely. Yarn-wrapped stars, trees and rings are about as forgiving as ornament making gets, which is why they are a good first choice for almost anyone.
Paper: a layered star
Paper rewards neatness, so start with a design that has only straight cuts. A layered paper star is two or three star shapes in different sizes stacked and glued. It teaches you to trace, cut cleanly and glue without warping the sheet, and those three skills carry into every other paper project.
Felt: a two-layer shape
Felt cuts like thick paper and its edges stay tidy with no hemming. The simplest felt ornament is two matching shapes, such as hearts or trees, glued together around the edge with a ribbon loop trapped between them. Once that feels comfortable, the same shape can be stitched instead of glued.
Natural: a pinecone on a loop
A clean, dry pinecone already looks finished. Tie a length of twine around the top row of scales, knot it into a loop, and you have an ornament in about five minutes. Natural ornaments are decorative only, and collected materials should be completely dry before they go anywhere near the tree.
Choosing a first project by time and tools
Be honest about how long you want to sit and what is already in the house. Both matter more than which design looks prettiest.
| What you have | Good first project | Rough making time |
|---|---|---|
| Scissors, cardboard, leftover yarn | Yarn-wrapped ring or star | About 20 to 30 minutes |
| Scissors, cardstock, glue stick | Layered paper star | About 20 minutes, plus drying |
| Scissors, felt, tacky glue | Two-layer felt shape | About 30 minutes, plus drying |
| Twine and a dry pinecone | Pinecone on a loop | About 5 to 10 minutes |
If you only have fifteen minutes, choose yarn or a pinecone, because neither one needs glue to dry before it can hang. If you are making with children, pick a project where an adult can do the cutting ahead of time and the child does the wrapping or sticking.
Tip
Make one test piece from scrap before cutting your good material. Five minutes with a cereal box shows you where the awkward corner is.
Three habits that make any ornament look finished
The gap between “homemade” and “handmade” is usually not skill. It is three small things that take a minute each.
Clean edges
Cut with the widest part of the scissor blades and turn the material, not your hand. Take long, smooth cuts instead of lots of little snips, which leave a jagged line. Trim stray fibers and paper whiskers before gluing, and wipe away squeezed-out glue with a damp cotton swab while it is still wet. Sharp scissors are adult tools, so keep them with whoever is supervising.
A centered hanging loop
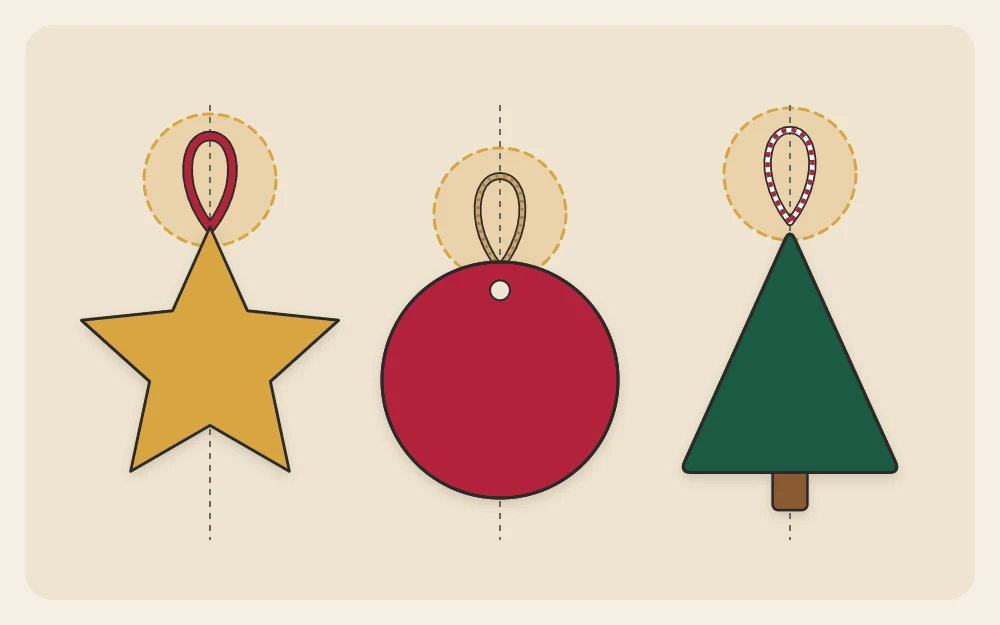
An ornament hangs straight only when its loop sits directly above its middle. Find the top center before you attach anything: balance the piece on a fingertip or measure across and mark the halfway point with a light pencil dot. A loop of about 8 in (20 cm) of twine or narrow ribbon, knotted at the ends, suits most small ornaments. The methods for attaching one to paper, felt, wood and yarn are covered in the guide to ornament hanging loops.
A limited palette
Pick two or three colors and stay with them. Red, white and one green look calm together; add a single natural tone such as twine or bare wood if you like. A small palette makes a mixed batch of ornaments read as a set, and it hides the fact that some are yarn and some are paper.
Common first-time mistakes
- Too much glue. A thin, even layer holds better than a puddle and dries faster. Thick blobs wrinkle paper and soak through felt.
- Hanging too soon. Glue that feels dry on the surface may still be soft underneath. Leave pieces flat for as long as the label suggests; overnight is a safe habit.
- Starting too big. Ornaments around 3 to 4 in (7.5 to 10 cm) across are easiest to handle and sit well on most branches.
Where to go after your first ornament
Once one project has gone well, stay in the same material for a second design before moving on. From a wrapped ring it is a short step to pom-poms; from a layered star it is a short step to scored and pleated paper. Building sideways like this lets your hands learn one material properly, and each new project then adds only a single unfamiliar step.
Frequently asked questions
What is the easiest Christmas ornament to make?
A pinecone tied onto a twine loop is the quickest, because nothing is cut or glued. For something you build yourself, a yarn-wrapped cardboard ring is the gentlest start: the yarn hides rough cutting, there is no drying wait, and it takes roughly twenty minutes.
What glue should a beginner use for ornaments?
White craft glue covers most paper, card and wood projects, a glue stick is tidy for thin paper layers, and thick tacky glue grips felt, yarn and small trims. All three work at room temperature and stay movable for a short while, which gives you time to adjust each piece.
How big should a handmade tree ornament be?
Around 3 to 4 inches (7.5 to 10 cm) across suits most trees and is comfortable to cut and hold. Smaller pieces need fiddly cutting, while larger ones can weigh a branch down, so this middle size is a sensible place to begin before you experiment.