How to Finish and Seal Handmade Ornaments
Tidy threads, glue and edges, choose between matte, satin and gloss brush-on sealer, add a neat backing and dry everything properly so your handmade ornaments look complete and last.
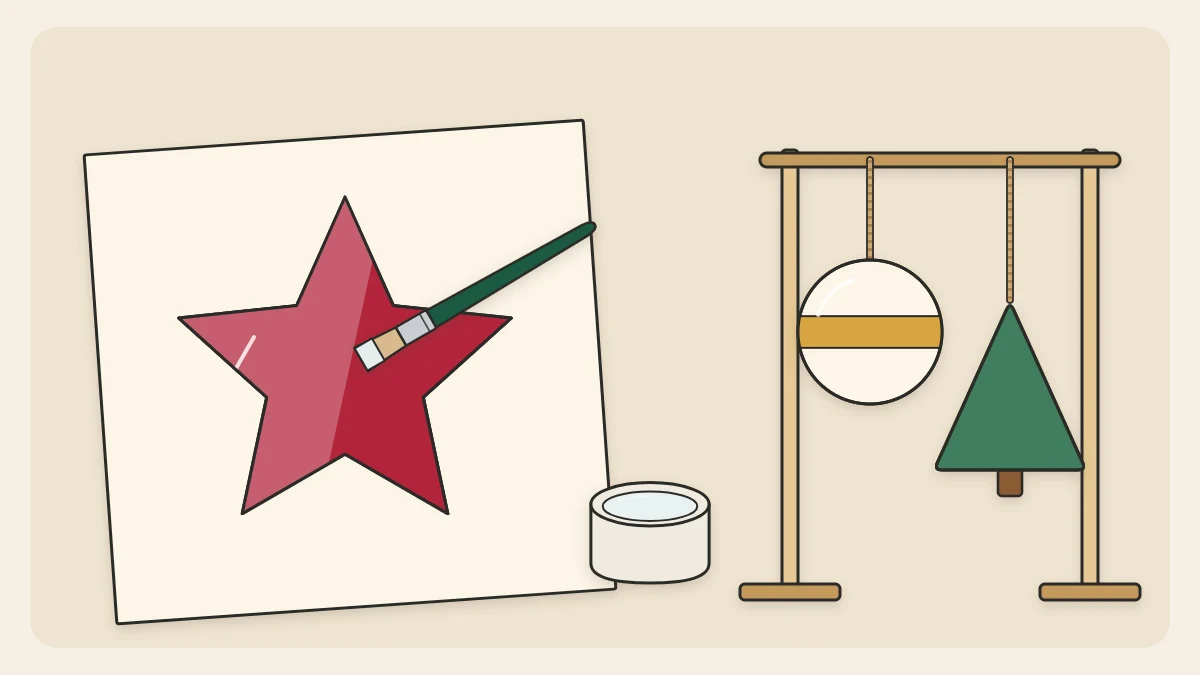
Knowing how to finish handmade ornaments is what separates a piece that looks homemade in a good way from one that looks unfinished. The last fifteen minutes of a project, spent trimming, tidying, sealing and backing, protect the hours that went before and help the ornament survive being packed and unpacked for years.
Finishing depends on the material, so this guide is arranged that way. Everything here is done cold, with brush-on products and room-temperature drying.
Tidy up before you seal
Sealer locks in whatever is on the surface, including stray threads, pencil lines and fingerprints. Deal with those first.
- Thread tails: snip them close to the knot with small sharp scissors, an adult tool. On felt, push the needle between the layers, bring it out about 1 in (2.5 cm) away and cut there, so the tail springs back inside.
- Glue strings and blobs: let tacky glue dry completely, then roll the dried strings off with a fingertip. Wiping wet glue only spreads it into a shiny smear.
- Pencil marks: lift them with a soft eraser before any paint or sealer goes over the top.
- Paper edges: trim fuzzy or uneven edges with scissors, and run a fingernail along each cut to flatten any lifted fibers. Press down corners that have come unstuck with a tiny dot of glue on a toothpick.
- Wood and clay edges: smooth them with fine sandpaper, around 220 grit, then wipe away the dust with a dry cloth.
Choosing a sealer: matte, satin or gloss
For painted ornaments, a water-based brush-on varnish or sealer is the simplest choice. It looks milky in the jar, dries clear, and cleans off the brush with water. Sealers are described by their sheen rather than by anything in the formula, so choose by the look you want.
| Finish | How it looks | Good for |
|---|---|---|
| Matte | Flat, with no shine; colors look soft and chalky | Rustic wood, natural materials, folk-style painting |
| Satin | A low, even glow | Most painted ornaments; hides brush marks well |
| Gloss | Bright and reflective; colors look deeper | Bauble-style pieces and anything meant to catch the tree lights |
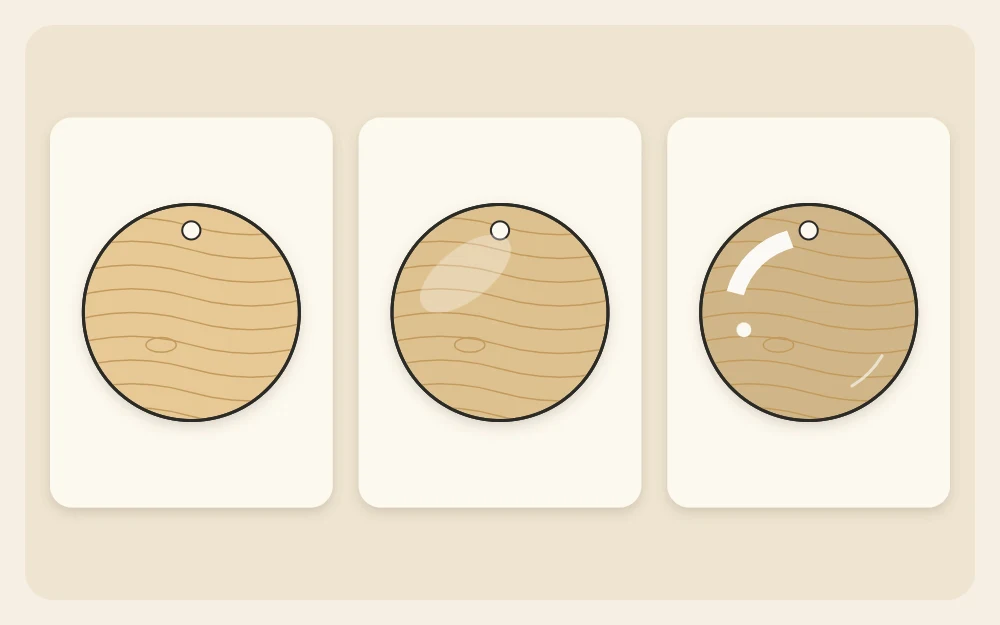
If you are unsure, test on the back of the ornament or on a scrap of the same material. Some sealers slightly darken bare wood or make marker lines bleed, and it is much better to find that out on a scrap.
How to brush on sealer
- Wait until the paint is fully dry, not just dry to the touch. For acrylic craft paint that is usually at least an hour, and longer for thick layers.
- Cover the table and work in a well-ventilated room. Read the product label before you open the jar, and follow its advice on use around children.
- Load a soft flat brush lightly and apply a thin, even coat in one direction. Do not go back over areas that have started to set, because that leaves drag marks.
- Check the edges and the inside of the hanging hole for drips, and lift them with the tip of the brush.
- Let the first coat dry for the time on the label, often about an hour, then add a second thin coat brushed at a right angle to the first.
- Seal the front and edges first. Once they are dry, turn the piece over and seal the back.
Two thin coats protect better than one heavy coat, which can stay tacky and turn cloudy. The specifics for wood, including sealing the cut edge of a shape, are in the guide to painted wooden ornaments.
Tip
Thread a paper clip or a loop of scrap string through the hanging hole before you start. It gives you a handle while you brush and keeps the hole from clogging.
Finishing by material
Paper and cardstock
Most paper ornaments need no sealer at all. Wet products can ripple thin paper, so a clean cut and well-glued layers are the finish. If you do want protection on heavy cardstock, brush on one very thin coat and dry the piece flat.
Felt and fabric
Leave felt unsealed. Pick off lint with a piece of tape wrapped sticky side out around your fingers, trim any fuzz along the cut edges, and check that every knot is hidden.
Air-dry clay
Clay must be dry all the way through before it is painted or sealed, which often takes one to three days depending on thickness. Sealer applied too early traps moisture inside. Seal every surface, including the back and the inside of the hole. The full process is in the guide to air-dry clay ornaments.
Natural materials
Pinecones, twigs, seed pods and wood slices should be clean and completely dry first. A thin coat of matte sealer, dabbed on with an old brush, helps hold loose scales and bark in place and stops dust from settling into the texture. These ornaments are decorative only.
Backing an ornament
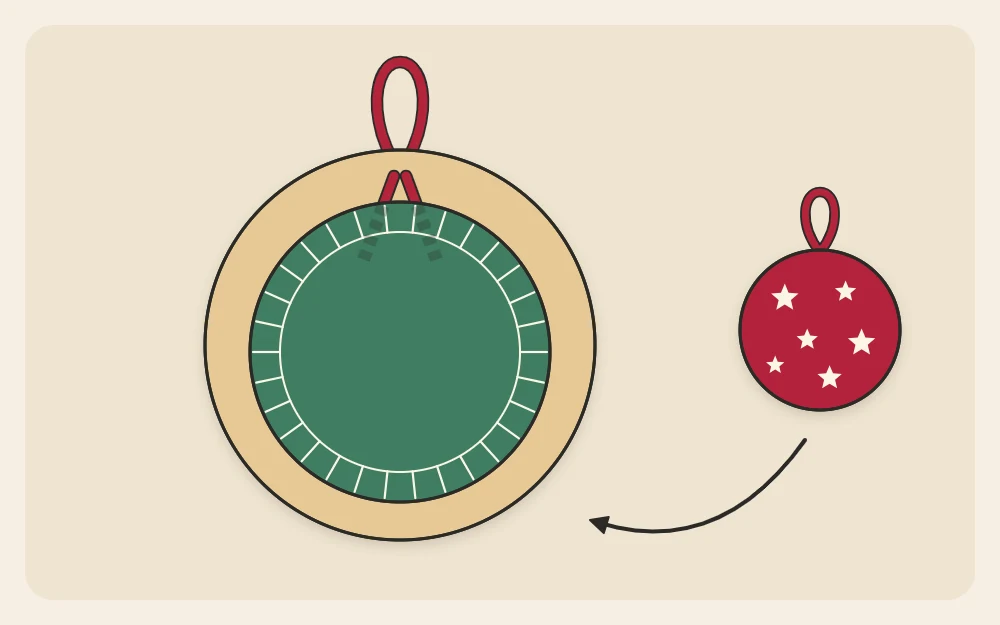
A backing hides knots, loop ends and the messy reverse of any stitching, and it makes a one-sided ornament look complete when it spins on the branch.
- Trace the ornament onto felt or cardstock and cut the shape about 1/8 in (3 mm) inside the line, so the backing does not show from the front.
- Lay the knotted loop ends on the back of the ornament, about 1/2 in (1.3 cm) down from the top.
- Spread a thin layer of tacky glue over the backing piece, right up to the edge.
- Press it in place over the loop ends and weight it under a book for about 30 minutes.
Drying and curing
Dry sealed ornaments at room temperature on a wire cooling rack, or hang them by their loops from a hanger or a length of string so that air reaches every side. Keep them away from dust and out of reach of pets and curious hands.
Dry to the touch is not the same as cured. Many water-based sealers feel dry within an hour but stay slightly soft for several days, and two ornaments packed face to face too soon can stick together. Follow the curing time on the label, and when in doubt wait a full week before wrapping anything. After that, see how to store handmade ornaments so the finish stays as good as the day you brushed it on.
Frequently asked questions
Do handmade ornaments need to be sealed?
Not all of them. Painted wood and air-dry clay benefit from two thin coats of water-based brush-on sealer, which protects the paint from scuffs and damp. Felt, fabric and most paper ornaments are better left unsealed, because wet products can stiffen fibers or ripple thin paper.
Should I use matte or gloss sealer on painted ornaments?
It is a matter of looks. Matte gives a flat, soft surface that suits rustic and natural pieces. Gloss deepens colors and reflects the tree lights. Satin sits in between and is the most forgiving choice, since it hides brush marks and small surface flaws better than gloss.
Why is my sealed ornament still sticky?
The coat was probably too thick, or the room is cool or humid. Leave the ornament hanging in a dry, well-aired room for several more days. Water-based sealers can feel dry within an hour yet need much longer to cure fully, so check the label before packing anything away.