Pinecone Ornaments: How to Prepare and Decorate Them
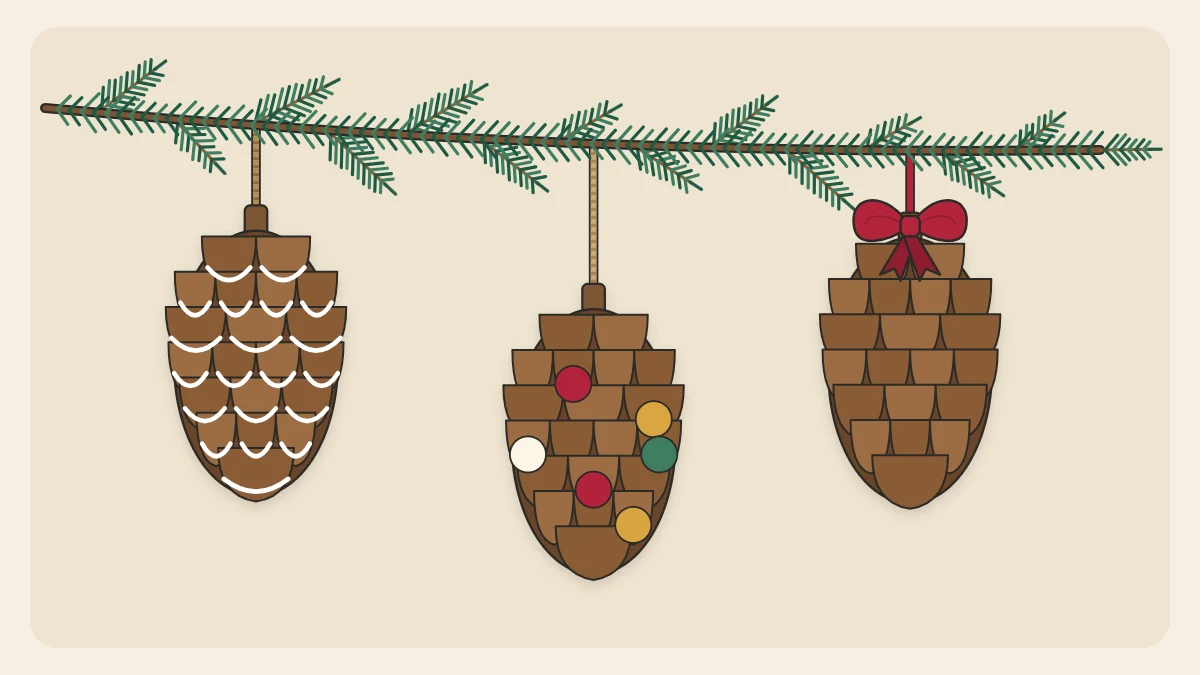
Clean and air-dry pinecones, add a secure hanging loop, then decorate them three ways: white-tipped scales, tucked pom-poms or beads, and a ribbon bow topper.
Tutorial at a glance
Materials
- Pinecones
- Dry stiff brush
- Jute twine or small screw eyes
- White acrylic craft paint
- Small pom-poms or wooden beads
- Tacky glue
- Ribbon, 3/8 in (1 cm) wide
Pinecone ornaments cost almost nothing and bring real texture to a tree, but the cones need a little preparation before any decorating starts. A cone picked up from damp ground is usually half closed, dusty and not yet ready for paint or glue.
This guide covers the slow part first, cleaning and air-drying, then shows two ways to add a hanging loop and three simple looks: white-tipped scales, tucked-in pom-poms or beads, and a ribbon bow topper.
Collecting or buying cones
Gather cones that have already fallen, on a dry day if you can, and only where collecting is allowed. Choose ones that are whole, firm and free of sticky resin, with no soft or dark patches. Cones about 2 to 3 in (5 to 7.5 cm) long suit most trees; larger ones are heavy for thin branches.
Craft-supply cones sold in bags are already clean and open, so you can skip straight to adding a loop. If you are curious why found cones behave differently, the scales of a conifer cone close when they are damp and open again as they dry.
What you need
- Pinecones, 2 to 3 in (5 to 7.5 cm) long
- A dry, stiff brush, such as an old toothbrush or small paintbrush
- Plain paper or newspaper
- Jute twine, about 12 in (30 cm) per cone, or small screw eyes
- White acrylic craft paint and a small flat brush
- Small pom-poms or wooden beads, about 3/8 in (1 cm) across
- Tacky glue
- Ribbon about 3/8 in (1 cm) wide
Cleaning and air-drying
- Outdoors, tap each cone against your palm and shake it to knock out loose seeds, needles and grit.
- Brush between the scales with the dry brush, working from the stem end toward the tip. Do not wash or soak the cones; water makes them close up and adds days to the drying time.
- Spread the cones on a sheet of paper indoors, in a single layer with space between them, somewhere with moving air and away from damp.
- Leave them for several days, turning them once a day. Partly closed cones can take a week or more. They are ready when the scales have opened fully and the cone feels light and dry.
- Check the paper as you go. Fallen seeds and dust are normal; brush out anything else and set aside any cone that stays closed, feels soft or smells musty.
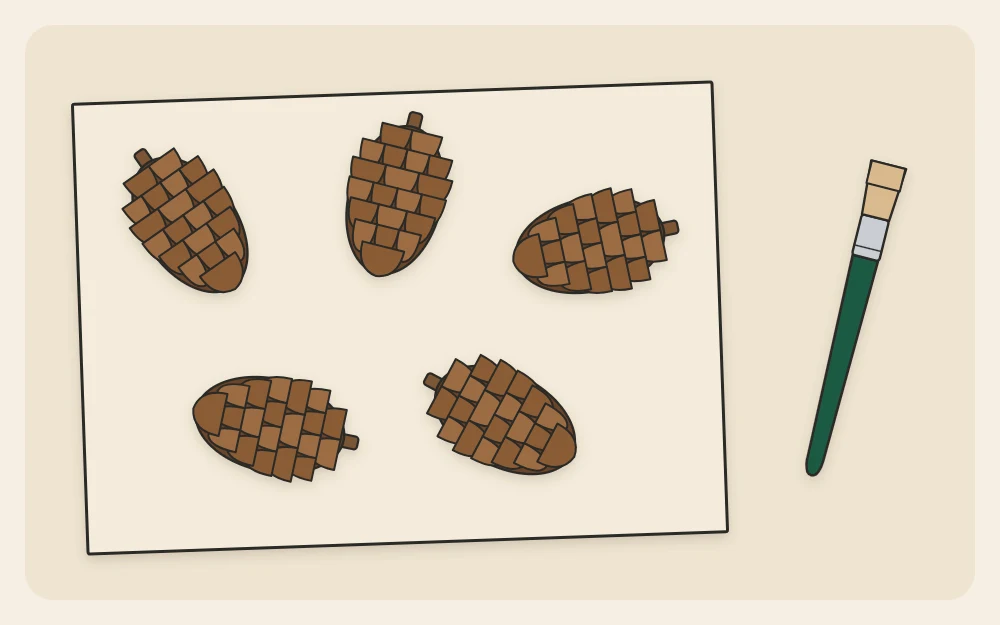
Tip
Do not rush this stage. Paint and glue hold poorly on a damp cone, and a cone that opens later will shift whatever you tucked between its scales.
Adding a hanging loop
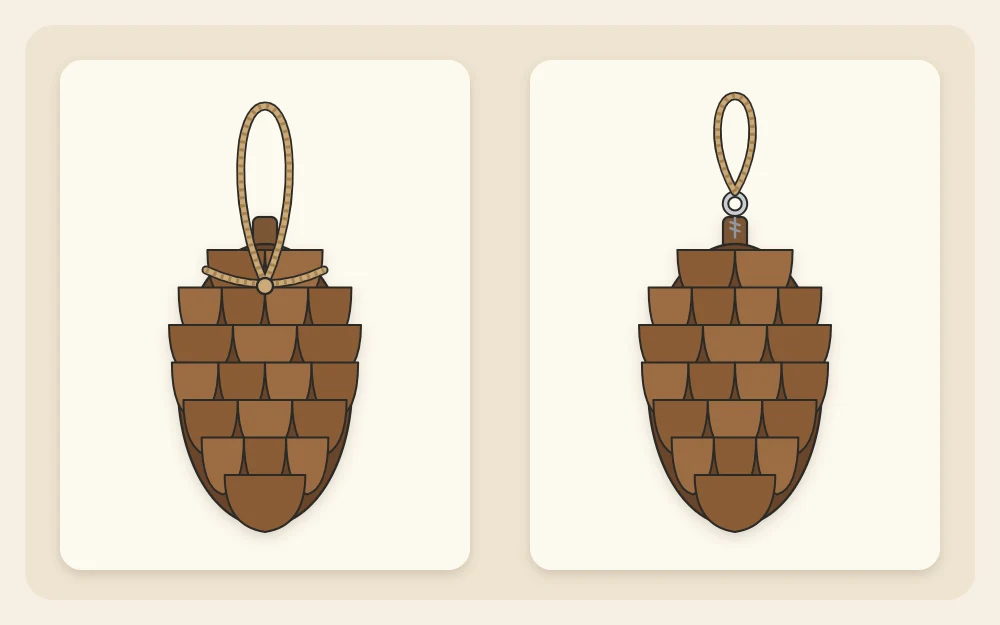
Pinecone ornaments usually hang with the wide stem end up and the tip pointing down. There are two reliable ways to attach a loop.
Twine under the top scales
- Cut 12 in (30 cm) of twine and find its middle.
- Slip the middle of the twine between the first and second rows of scales at the stem end, and work it around the core of the cone.
- Pull both ends up and tie a tight double knot against the core, hidden under the scales.
- Bring the ends together above the cone and tie an overhand knot about 3 in (7.5 cm) up to form the loop. Trim the tails.
A small screw eye
- Make a starter hole in the center of the stem end with a pushpin.
- Twist in a small screw eye, about 1/2 in (1.3 cm) long, until the ring sits against the cone. Add a drop of tacky glue to the thread first for extra hold.
- Thread twine or ribbon through the ring and knot it.
Screw eyes and pushpins are adult tools. The twine method needs no tools and suits children.
Look 1: white-tipped scales
- Put a little white acrylic craft paint on a plate and dip just the end of a flat brush into it.
- Dab most of the paint off on scrap paper so the brush is nearly dry.
- Hold the cone by its loop and stroke the brush lightly across the outer edge of each scale, from the tip of the cone upward.
- Add a second light pass where you want more white. Thin layers look like a dusting of snow; a loaded brush floods the gaps.
- Hang the cone to dry for about an hour, or as the paint label directs.
Look 2: tucked pom-poms or beads
- Choose 10 to 15 small pom-poms or beads in two or three colors.
- Put a small dot of tacky glue on one and push it into the space between two scales, far enough that it touches the scale behind.
- Work around the cone in a loose spiral, leaving some gaps empty so the cone still shows.
- Lay the cone on its side until the glue grips, then hang it to finish drying. Tacky glue often needs several hours to set fully; follow the label.
Watch out
Beads and pom-poms are small parts. Hang these cones high on the tree, out of reach of young children and pets. Natural-material ornaments are for decoration only.
Look 3: a ribbon bow topper
- Cut 12 in (30 cm) of ribbon and tie it in a simple shoelace bow with loops about 1 in (2.5 cm) long.
- Trim the tails at a slant so they are a little longer than the loops.
- Glue the knot of the bow to the stem end of the cone, just in front of the hanging loop, and hold it for a minute.
- For a fuller topper, tuck a short sprig of faux greenery behind the bow with another dot of glue.
The three looks combine well: white tips with a red bow is a classic.
Finishing, pairing and storing
Bare and painted cones need no sealer, though a coat can help painted tips resist scuffing; the options are compared in the guide on how to finish handmade ornaments.
Pinecones look best alongside other woodland textures. A twig star ornament uses the same twine, and cinnamon stick ornaments add a warm brown tone and a gentle scent.
Before packing cones away, check each one. Throw out any that have gone soft, smell musty or show signs of insects, and retie loose loops. Store the rest in a breathable box with tissue between them, in a cool, dry place away from damp and direct sun. Cones kept somewhere damp close up again, and may loosen their decorations as they do.
Frequently asked questions
How long do pinecones take to dry and open indoors?
It depends on how damp they were and on the room. Cones that were already mostly open may be ready in two or three days, while tightly closed ones can need a week or longer. Spread them in a single layer on paper, turn them daily and wait until the scales are fully open.
Why did my pinecone close up again after decorating?
Cone scales react to moisture: they close in damp air and open again when dry. A cone hung near a steamy kitchen or stored in a damp garage can tighten up. Move it to a dry room for a few days and it should reopen, though tucked decorations may need a fresh dot of glue.
Can I make the white tips look like snow with something other than paint?
Yes. Brush a thin line of white craft glue along the scale edges and sprinkle on white or iridescent glitter, or coarse craft snow, over a tray. Shake off the extra and let the cone dry fully. Glitter sheds over time, so store these cones wrapped separately.