Ornament Making Supplies: A Simple Starter Kit
A short, practical list of the tools and materials you need to start making Christmas ornaments, which glue suits which material, and the extras that can wait.
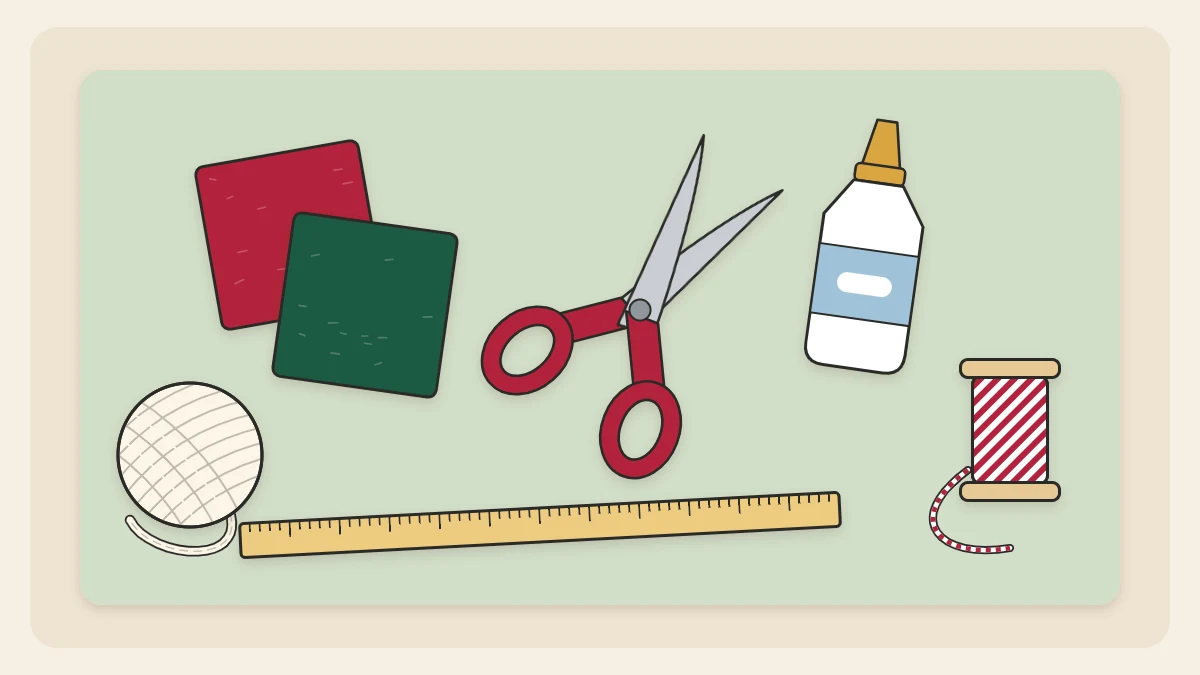
You need far fewer ornament making supplies than a craft aisle suggests. Six everyday tools and a handful of materials will carry you through paper stars, felt shapes, yarn-wrapped rings and painted wood slices, and most of them are probably in a drawer already.
The list below separates the true starter kit from the extras that are pleasant to own but never essential. Everything here works cold, at room temperature, so the kit is as simple to set up as it is to put away.
The minimum kit
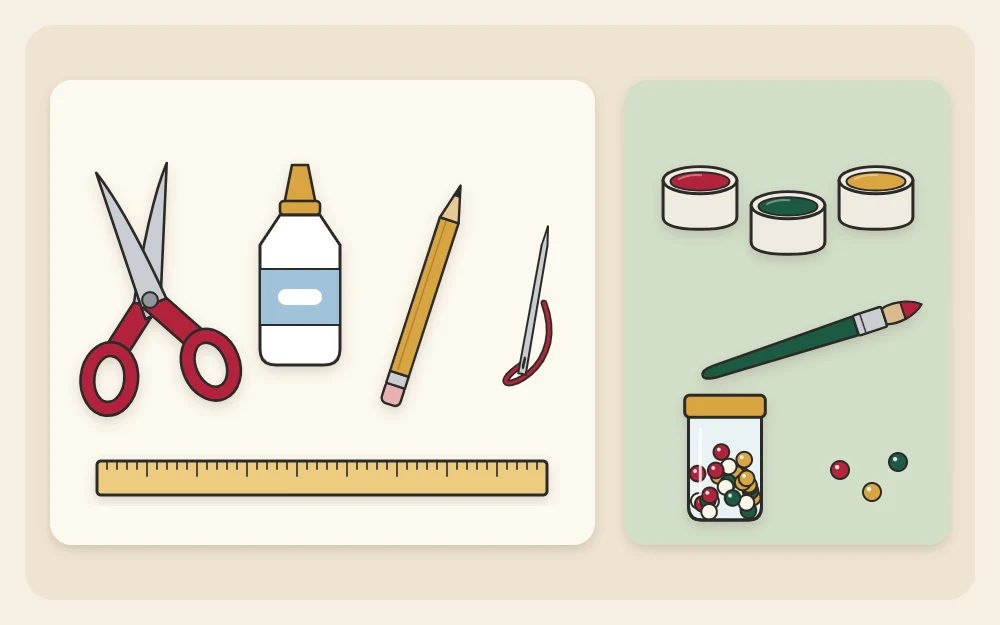
These six items are enough for nearly every beginner project on this site.
- Scissors. One sharp pair, about 8 in (20 cm) long, for paper, card, felt and yarn. If you can spare a second pair, keep one for fabric and felt only, because paper dulls blades quickly.
- Glue. A bottle of white craft glue or thick tacky glue. The differences are explained below.
- Ruler. A 12 in (30 cm) ruler, ideally with a metal edge, for measuring and for scoring straight creases.
- Pencil. A soft pencil for tracing shapes, plus an eraser. Light lines are easier to hide.
- Needle and thread. A medium sewing needle and a spool of strong thread, for making loops and for simple stitching on felt. A blunt yarn needle with a large eye is useful too.
- Twine or ribbon. Thin twine or 1/8 to 1/4 in (3 to 6 mm) ribbon for hanging loops. Allow about 8 in (20 cm) per ornament.
Scissors and needles are adult tools. Hand them out one at a time when children are helping, and count the needles back in at the end.
Which glue does what
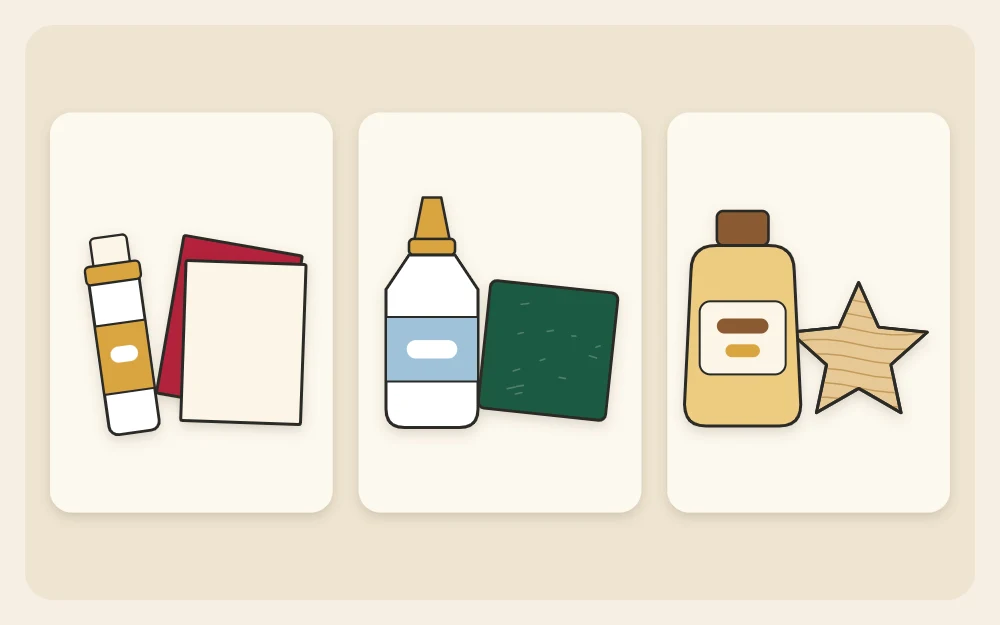
Glue causes more beginner frustration than any other supply, usually because the wrong type was used for the material. Three kinds cover everything, and none of them needs warming or special equipment.
| Glue type | Best for | Good to know |
|---|---|---|
| Glue stick | Thin paper layers, cardstock on cardstock | Low moisture, so paper stays flat. Not strong enough for felt or wood. |
| White craft glue | Card, cardboard, wooden craft sticks, yarn ends | Dries clear. Spread it thinly; too much wrinkles paper. |
| Thick tacky glue | Felt, fabric, buttons, beads, natural materials | Grips quickly and stays where you put it. Dries clear and slightly flexible. |
Whichever you choose, apply less than you think you need and press the pieces together for about 30 seconds. Drying times vary with the product and the room, so follow the label; leaving work flat overnight before hanging it is a safe routine. For safety information about any glue, check the product label.
Tip
Squeeze a small puddle of glue onto a jar lid and apply it with a toothpick or cotton swab. You get a thin, controlled line instead of a blob from the nozzle.
The easiest materials to start with
Paper and card
Medium-weight cardstock is the most useful paper to buy. It is stiff enough to hold a shape and thin enough to cut in two layers at once. Plain printer paper is fine for practice and for pleated designs, while very glossy or very thick card tends to crack along creases. For bases that will be wrapped or covered, save cereal boxes and the backs of notepads; they cost nothing and cut easily.
Felt
Craft felt comes in small squares, usually about 9 x 12 in (23 x 30 cm), and one square makes several ornaments. Wool-blend felt is a little denser and cuts with a crisper edge than the thinnest acrylic kind, which can stretch and pill. Either one works for a first project because felt does not fray. The basics of felt Christmas ornaments explain cutting, layering and stuffing in more detail.
Yarn
Choose a smooth, medium-weight yarn in a solid color. It covers cardboard quickly and makes plump pom-poms. Fuzzy, slippery or very thin yarns are harder to control and show every gap. Leftover balls from other projects are ideal, since most ornaments use only a few yards.
Wood and natural pieces
Flat wooden craft sticks, small unfinished wooden shapes and thin wood slices take glue and paint well. Pinecones, twigs and seed pods should be clean and thoroughly dry before use, and ornaments made from them are decorative only.
Optional extras worth adding later
None of these is needed for a first ornament. Add them one at a time when a project calls for them.
- Craft punch. Cuts identical circles, stars or hearts from paper in one squeeze. Handy when a design needs twenty matching pieces.
- Pinking shears. Scissors with zigzag blades that give felt and fabric a decorative edge and slow down fraying on woven cloth.
- Acrylic craft paints. Three or four small pots (red, white, green and a metallic) with one flat brush and one fine brush. They are the starting point for painted wooden ornaments.
- Beads, buttons and sequins. A small mixed jar adds sparkle and detail. These are small parts, so keep them out of reach of young children and pets.
- Cutting mat and craft knife. Useful for inside cuts and long straight lines. A craft knife is strictly an adult tool.
What you can skip
You do not need any tool that plugs in, a cutting machine, specialty adhesives or a full rainbow of paint. You also do not need a dedicated craft room. A tray or a sheet of scrap cardboard protects the table, and a shoebox holds the whole kit.
One square of felt, one ball of yarn and a few sheets of cardstock in the same two or three colors will make a dozen coordinated ornaments.
Setting up a small work space
A little order makes a short session smoother. Before you start, lay out the following.
- Cover the table with scrap paper or a wipeable mat.
- Put glue, a damp cloth and a few cotton swabs within reach for quick clean-ups.
- Set a small bowl or jar lid to one side for snipped threads and offcuts.
- Clear a flat spot, such as a tray lined with parchment paper, where finished pieces can dry undisturbed.
When you are finished, close glue lids firmly, rinse brushes in cool water and store the kit in a cool, dry place away from damp and direct sun.
Putting the kit to work
With the six basics gathered, the next step is choosing a project that suits them. The overview of easy ornaments for beginners matches first projects to the time and tools you have, so you can start with what is already on the table.
Frequently asked questions
What supplies do I need to start making ornaments?
Six basics are enough: sharp scissors, white craft glue or thick tacky glue, a ruler, a pencil, a needle with thread, and twine or narrow ribbon for loops. Add a few sheets of cardstock, a square of felt or a ball of yarn, depending on the project you choose first.
Is white craft glue or tacky glue better for ornaments?
They suit different jobs. White craft glue is thinner and works well on card, cardboard and wooden craft sticks. Tacky glue is thicker, grips faster and holds felt, fabric, buttons and natural materials more reliably. If you want only one bottle, tacky glue handles the wider range of materials.
Do I need special scissors for felt?
No, any sharp pair will cut felt cleanly. What helps is keeping one pair only for felt and fabric, because cutting paper and card dulls blades and dull blades chew felt edges. Small pointed scissors are useful later for tight curves and tiny shapes, but they are optional.