Fabric Scrap Ornaments: No-Sew Ideas From Leftovers
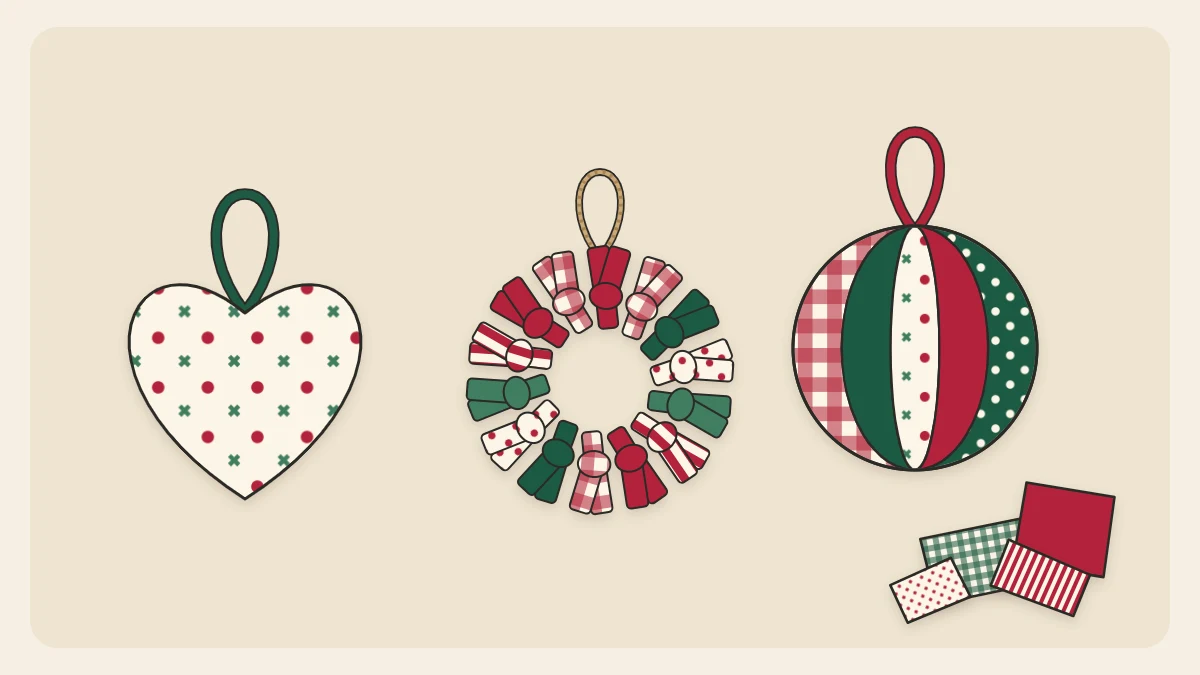
Turn leftover cotton into three no-sew tree ornaments: fabric-covered card shapes, a ring of knotted strips and a tucked fabric ball, using only scissors and cold craft glue.
Tutorial at a glance
Materials
- Cotton fabric scraps
- Thin card
- White craft glue or tacky glue
- 3 in (7.5 cm) ring
- 2 1/2 in (6.5 cm) foam ball
- Craft knife and blunt tool
- Ribbon or twine
- Two buttons
Fabric scrap ornaments are the best use for the pieces that are too small to sew with and too pretty to throw out. A strip the width of your thumb or a square the size of your palm is enough, and none of the three projects here needs a needle.
All three rely on white craft glue or thick tacky glue, scissors and a little patience while things dry at room temperature. Start with the covered card shapes if you are new to working with fabric.
Choosing scraps that work at small scale
An ornament shows only a few square inches of cloth. Lightweight woven cotton, the kind used for quilting and shirts, is the easiest: it folds crisply, takes glue well and does not stretch.
- Small prints read best. Tiny dots, narrow stripes, gingham and small florals with motifs under about 1/2 in (1.3 cm) still look like a pattern on a 2 in (5 cm) shape. Large prints turn into random patches of color.
- Mix light, medium and dark. Scraps of the same depth blur together from across the room.
- Skip thick or stretchy cloth. Denim, fleece and jersey are bulky at the folds and awkward to tuck.
Smooth creased scraps flat under a heavy book overnight.
Cutting on the grain
Woven fabric is made of threads running up-and-down and side-to-side. Cutting parallel to those threads is called cutting on the grain. Strips cut this way stay straight, fray evenly and do not stretch out of shape; strips cut diagonally go wavy when you pull a knot tight.
To find the grain, pull one loose thread at the edge and follow the line it leaves, or make a small snip and tear the cotton: it rips along a single thread, which gives a perfectly straight strip with a soft feathered edge. Sharp fabric scissors are an adult tool.
What you need
- Cotton scraps in three or more prints
- Thin card, such as an empty cereal box
- White craft glue or tacky glue, plus a small brush
- A ring about 3 in (7.5 cm) across: wood, metal or a bangle
- A foam ball about 2 1/2 in (6.5 cm) across
- A craft knife and a blunt tool, such as a butter knife or craft stick
- Narrow ribbon or twine for loops, and two buttons
Project 1: fabric-covered card shapes
- Cut two matching shapes from card. A circle about 2 1/2 in (6.5 cm) across, traced around a glass, is the easiest; a plump heart is a good second try.
- Lay one card shape on the wrong side of a scrap and cut the fabric about 1/2 in (1.3 cm) bigger all around.
- Brush a thin, even coat of glue over the card and press it onto the center of the fabric. Turn it over and smooth out any bubbles with your fingers.
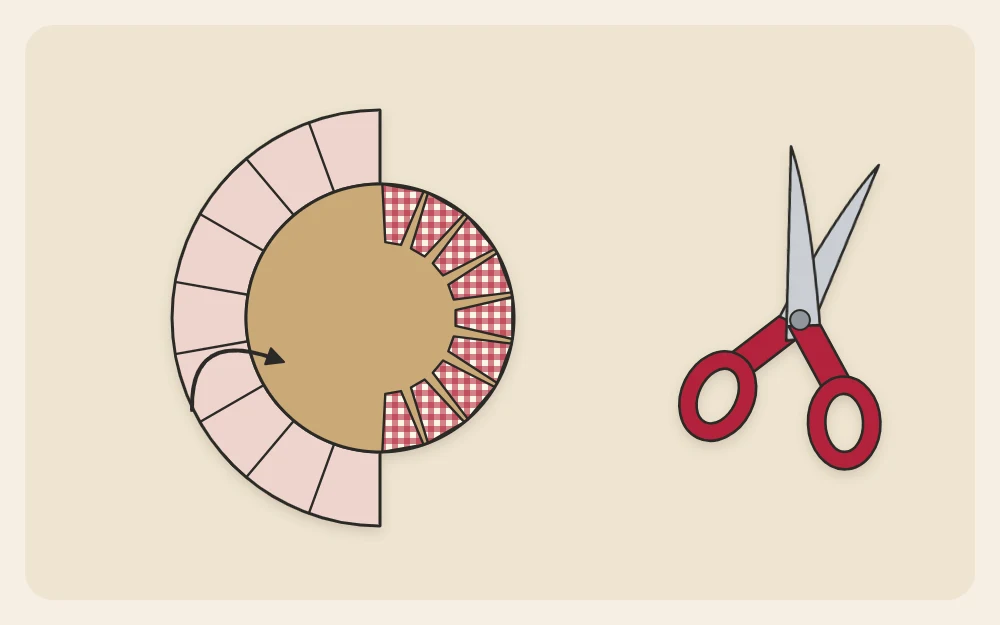
- Snip the overhanging fabric into tabs about 1/2 in (1.3 cm) wide, stopping just short of the card edge. On a heart, make one snip straight into the dip at the top.
- Glue the tabs down one at a time, pulling each snugly over the edge so the front stays taut.
- Cover the second shape the same way. Fold an 8 in (20 cm) piece of ribbon in half, glue the cut ends to the back of one shape, then glue the two shapes back to back.
- Rest the ornament under a book for about an hour while the glue sets.
Tip
Use less glue than you think. A heavy coat soaks through thin cotton and dries as a dark, stiff patch on the front.
Project 2: strips knotted around a ring
- Cut or tear strips about 3/4 in (2 cm) wide and 5 in (13 cm) long. A 3 in (7.5 cm) ring takes roughly 25 to 30 strips, depending on the fabric’s thickness.
- Pass a strip under the ring, bring both ends up and tie a single firm knot on the outer edge. Tie a second knot on top if the first one loosens.
- Push the knot along and tie the next strip beside it, changing prints as you go.
- Keep adding strips and sliding them together until no ring shows between the knots.
- Trim the tails to an even length, about 1 in (2.5 cm), and fluff them outward.
- Tie a 10 in (25 cm) length of twine around the ring between two knots and knot its ends together for hanging.
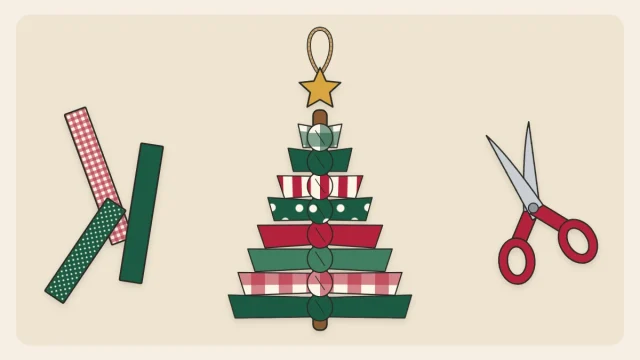
The same idea, made with yarn and greenery, appears in these mini wreath ornaments. If you enjoy the knotting, the fabric strip tree ornament ties the same strips along a twig.
Project 3: the tucked fabric ball
Scraps are pushed into shallow slits in a foam ball, so the ornament looks pieced together. The craft knife is an adult tool.
- Stretch a rubber band around the middle of the ball and draw along it with a pen. Turn the band a quarter turn and draw again, so the two lines cross at the top and bottom and divide the ball into four.
- Draw two more lines through the same crossing points, halving each quarter. You now have eight segments.
- Cut along every line with the craft knife, about 1/4 in (6 mm) deep.
- Cut eight fabric pieces about 1 1/2 by 4 1/2 in (4 by 11.5 cm), with the long side on the grain.
- Lay one piece over a segment. Starting in the middle of one long side, push the fabric edge into the slit with the blunt tool, then work toward both ends. Repeat on the other side, smoothing the fabric as you go.
- Trim any extra at the tips and tuck the ends in. Fill the remaining segments, alternating prints.
- Glue a button over the point where the slits meet at the bottom. At the top, glue down the ends of a ribbon loop and cover them with the second button.
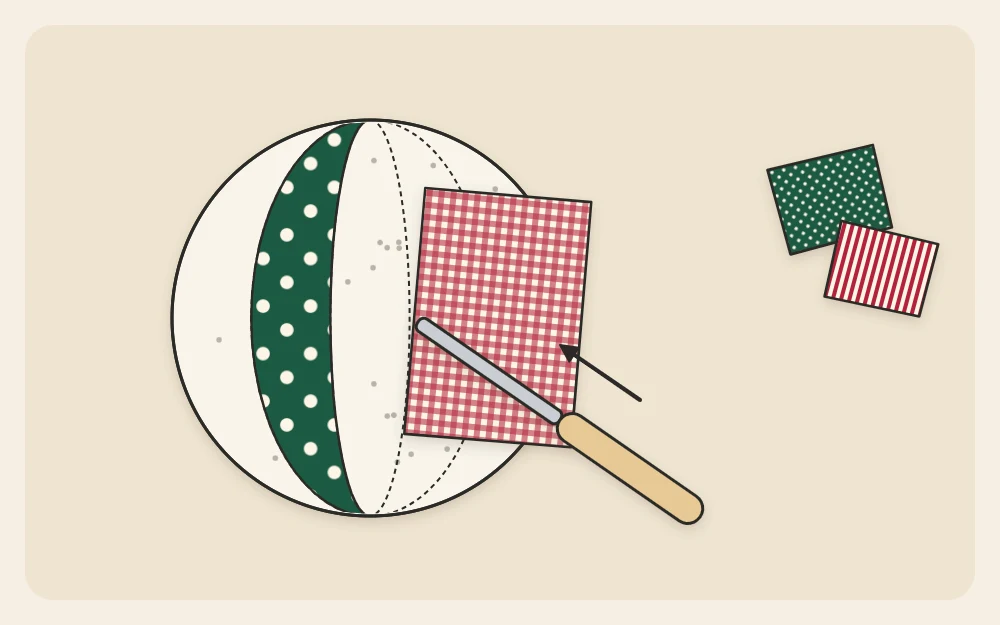
If an edge pops out, add a little tacky glue to the slit and tuck it again.
Finishing and hanging
Let every glued ornament dry fully, usually overnight, before it goes on the tree; the time depends on the room and the product, so follow the label.
Watch out
Buttons are small parts. Hang these ornaments on higher branches, away from young children and pets.
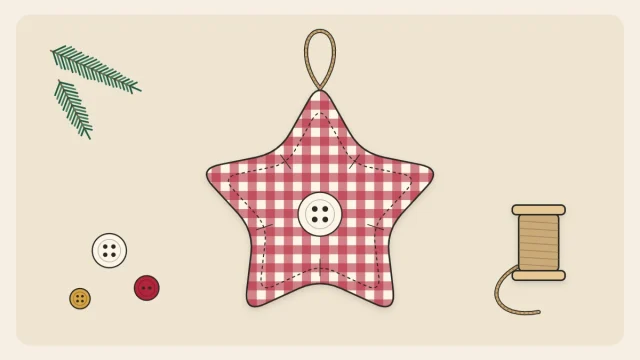
Once you are comfortable handling small pieces of cotton, a needle and thread open up more shapes. The stuffed fabric star ornament is a gentle first sewing project and needs only two scraps.
Frequently asked questions
What kind of fabric is best for no-sew scrap ornaments?
Lightweight woven cotton, such as quilting cotton or old shirt fabric, is the easiest to work with. It folds neatly over card, knots without bulk and tucks cleanly into a foam ball. Thick cloth like denim and stretchy knits are harder to control at this size, so save them for other projects.
How do I stop the fabric strips from fraying too much?
Cut or tear the strips along the grain so they fray evenly instead of unraveling in clumps. Pull away the first few loose threads, then leave the edge alone. For a cleaner look, cut with pinking shears, or run a very thin line of white craft glue along the edge and let it dry.
Can I use a different size foam ball for the tucked ornament?
Yes. Measure around the ball, divide by the number of segments and add about 1/2 in (1.3 cm) to get the width of each fabric piece. For the length, measure from top to bottom over the curve and add the same amount. Smaller balls are fiddlier, so begin with a medium one.