Keepsake Ornament Ideas: Yearly Ornaments Worth Keeping
Start a yearly ornament tradition with five simple keepsake formats: a year disc, a fabric scrap, a leaf imprint, a ribbon-length keepsake and a memory tag, plus how to date and store them.
Some ornaments are decoration, and some are the ones you unwrap slowly each December because they bring a particular year back. The keepsake ornament ideas here are about making that second kind on purpose: one small, dated ornament every year, in a format simple enough that you will actually keep it up.
None of them needs advanced skills. What makes a keepsake is the date on the back and the story behind it, not how elaborate it looks.
How a yearly ornament tradition works
The idea is one new ornament per year, made at roughly the same time each season and added to the same collection. After five years you have a short row; after fifteen, a tree that tells a family’s story branch by branch.
Traditions last when they are easy. Pick a project that takes an hour or less, uses materials you can find again next year and can be done at the kitchen table. If you are new to making ornaments, the projects in easy Christmas ornaments for beginners are a good place to find a base you enjoy.
Choose a consistent format
A set looks most striking when each year’s ornament shares a format with the last one and only one thing changes. Decide these four things once and write them down:
- Shape and size: for example, a round disc 3 in (7.5 cm) across.
- Material: wood, clay, felt or cardstock.
- What changes each year: the color, the motif or the imprint.
- The loop: the same ribbon or twine, cut to the same length each time, such as 8 in (20 cm).
Buying a small stock of blanks and a spool of ribbon in the first year helps the later ornaments match the early ones.
Five keepsake ideas
1. A year disc
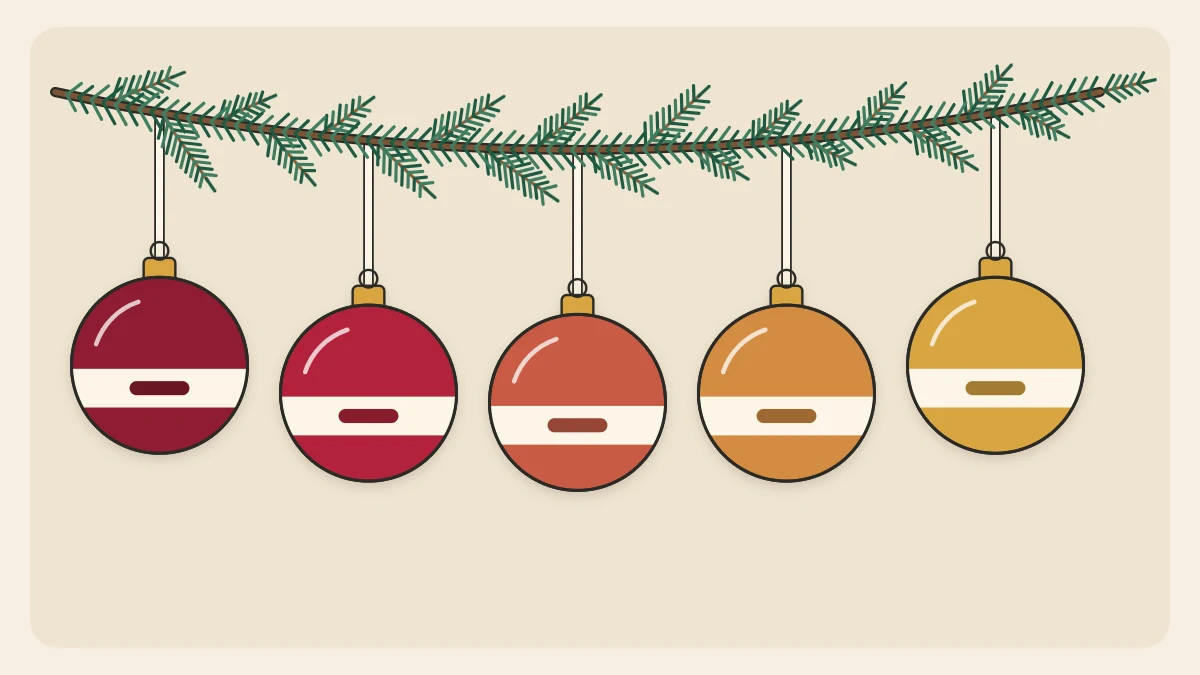
The simplest format of all: a wooden or clay disc painted in one color, with the year lettered across the front. Change the color every year and keep everything else the same. Hung together, the discs form a timeline you can read from across the room. Guidance on spacing digits and lettering neatly is in these personalized ornament ideas.
2. A fabric scrap from a meaningful garment
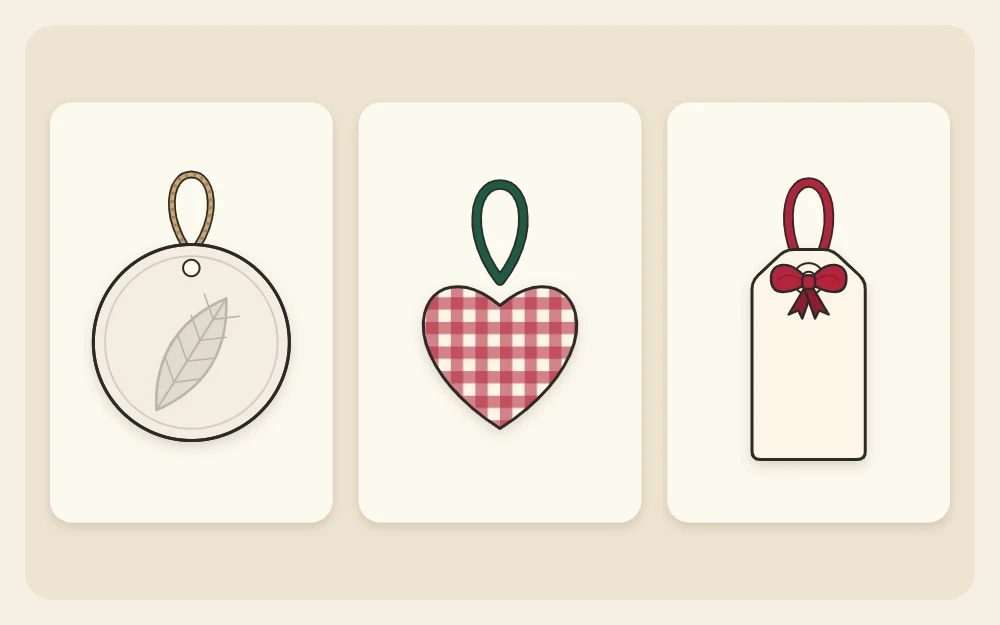
An outgrown shirt, a worn-out apron or a piece of a favorite blanket can live on as an ornament. Cut a heart or circle about 2 1/2 in (6 cm) across from stiff cardboard. Cut the fabric about 1/2 in (12 mm) larger all around, snip small notches into the overhang, then fold it to the back and stick it down with thick tacky glue. Glue a ribbon loop to the back and cover everything with a piece of felt cut to the shape. Only a small scrap is needed, so cut from a hidden area and the rest of the garment can still be kept.
3. A clay imprint of a leaf
Choose a leaf from a place that mattered that year: the garden of a new home, a favorite walk, a vacation spot. Press it vein side down into rolled air-dry clay, cut a disc around the print and let it dry flat at room temperature. The veins stay recorded in the clay long after the leaf itself has crumbled. Leaves with firm, raised veins give the clearest print.
4. A ribbon-length keepsake
Cut a ribbon to a length that means something, most often a child’s height that year. Roll it up neatly, tie the roll with thread and tuck it inside a clear fillable ornament, or simply tie the roll to a tag. Each year’s ribbon is a little longer, and unrolling them side by side shows the growth at a glance. Write what the length represents on the tag, because it will not be obvious later.
5. A memory tag
Cut a tag from heavy cardstock, about 2 by 3 1/2 in (5 by 9 cm). On one side, list three to five highlights of the year in a few words each: a first day of school, a new pet, a trip, a team, a favorite song. Decorate the other side with a simple motif and punch a hole for a ribbon. This is the easiest idea to do with children, who are usually keen to decide what makes the list.
Make a matching set for each family member
Many families make one ornament per person each year instead of one for the household. Keep the shape identical and vary a single detail, such as the color of the ribbon or an initial on the front, so each person can spot their own.
The appeal is long term. When a child grows up and leaves home, their set goes with them: a ready-made collection for a first tree, one ornament for every year of their childhood.
Tip
Make one spare each year. It covers a breakage and gives you a matching piece if the family grows.
Date the back, every time
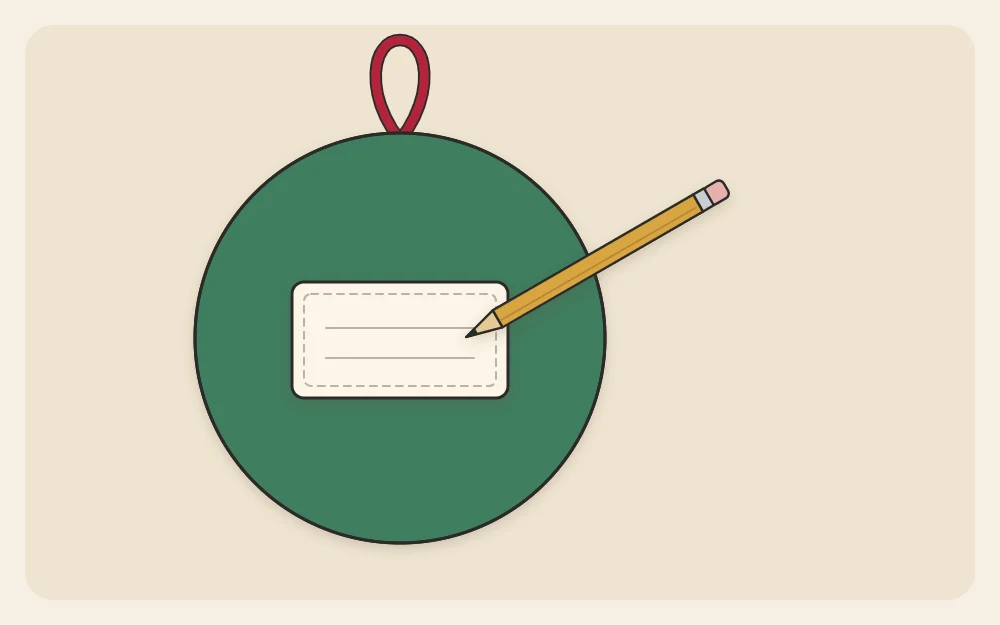
It feels unnecessary in the moment, since of course you will remember. Ten years on, two similar ornaments are very hard to tell apart. Make dating the back the last step of the tradition.
- Write the year, and the maker’s name or initials if several people are involved.
- Add a few words of context where it helps: the place a leaf came from, or whose shirt the fabric was.
- Use a fine-tip paint pen or permanent marker on wood and clay, and a fabric pen or a small stitched-on label on felt.
- If the ornament is sealed, write the date first and seal over it once the ink is dry.
Store keepsakes carefully
An ornament that cannot be replaced deserves a little more care than the rest of the box.
- Wrap each one separately in acid-free tissue paper so surfaces do not rub together.
- Use a sturdy box with dividers, and put the heaviest pieces at the bottom.
- Keep paper tags and fabric pieces flat rather than folded.
- Store the box in a cool, dry place away from damp and direct sun.
- Slip a card into the box listing each ornament and its year, as a backup to the dates on the backs.
The full guide on how to store handmade ornaments covers boxes, wrapping and material-by-material advice.
Starting late is fine
There is no need to wait for a milestone year. Begin this season, and if you want to fill in earlier years, make simple year discs for them in one sitting. The collection will look complete, and from here on you add just one each December.
Frequently asked questions
How do you start a yearly ornament tradition?
Choose one simple format, such as a round disc in a set size, and decide what will change each year, for example the color or motif. Make one ornament every season, write the year on the back and keep them together. A project that takes under an hour is the easiest to keep going.
What should you write on the back of a keepsake ornament?
Always include the year. The maker's name or initials help when several people take part, and a few words of context are worth adding when the meaning is not obvious, such as where a leaf was collected or which garment a fabric scrap came from. Write before sealing, then seal over the dry ink.
Can you start a keepsake ornament collection partway through?
Yes. Begin with this year and carry on from there. If you would like the set to reach back further, make plain dated discs for earlier years in a single session, using the same shape and ribbon. They fill the gaps neatly and the collection reads as one continuous series.