How to Store Handmade Ornaments So They Last
Pack paper, felt, natural and painted ornaments the way each material needs, using divided boxes, egg cartons, tissue and clear labels, then check and repair them when you unpack.
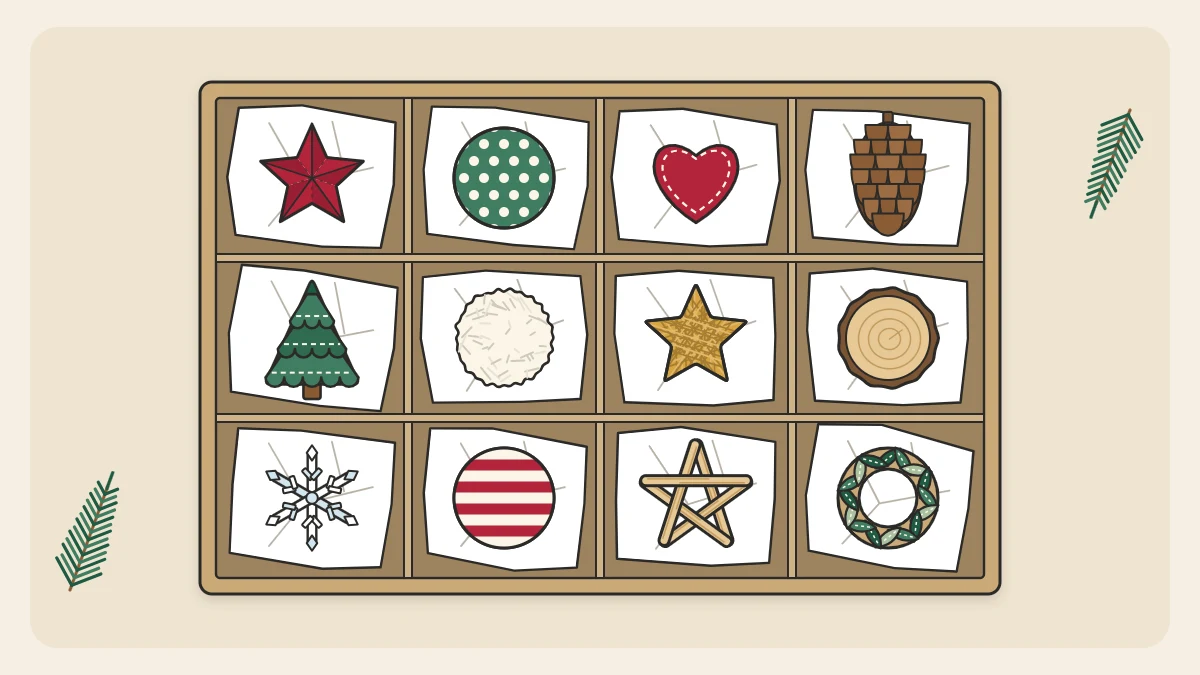
Working out how to store handmade ornaments matters more than it does for store-bought ones, because there is no replacement on a shelf somewhere. Paper bends, felt attracts dust, natural materials soak up damp, and painted surfaces stick to each other. Almost all of that damage happens during the eleven months in the box, not the one month on the tree.
Good storage costs very little. It comes down to packing each material the way it likes to be kept, choosing a sensible spot in the house, and spending a few minutes checking things over each December.
Before anything goes in the box
Pack ornaments clean and completely dry. Brush off dust and tree needles with a soft, dry paintbrush, and let anything that has been in a damp room air overnight. Recently sealed pieces need time for the sealer to cure before they are wrapped; the guide on how to finish and seal handmade ornaments explains why dry to the touch is not enough.
Leave the hanging loops on. Removing and retying them wears out punched holes. Tuck each loop flat against the back of its ornament so it does not tangle with its neighbors.
Storage by material
Paper and cardstock
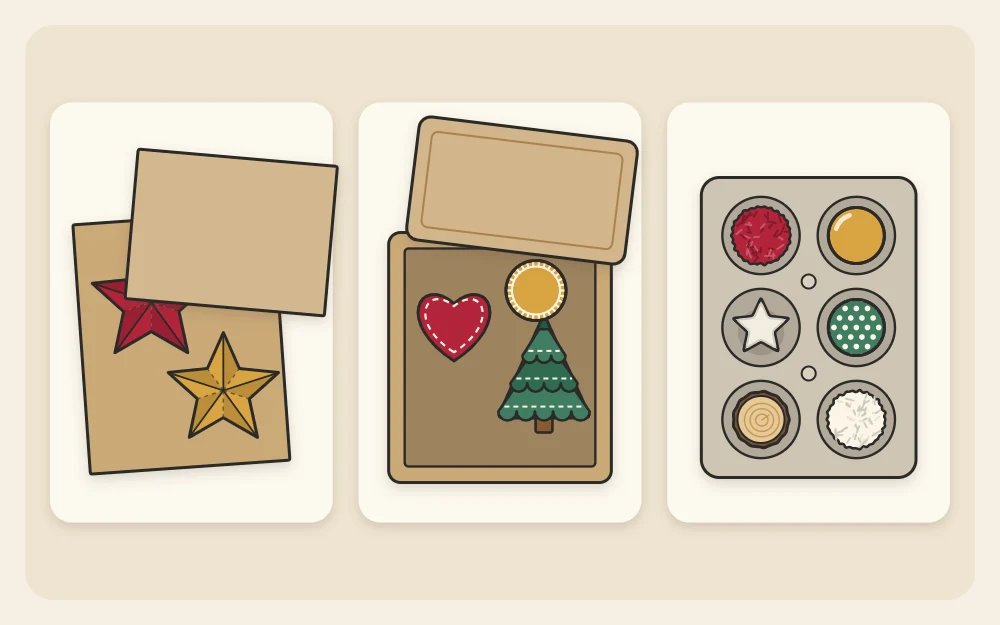
Flat paper ornaments keep best pressed flat. Lay them in a single layer between two sheets of stiff card, such as the backs of old notepads, with a sheet of tissue between ornaments that touch. Hold the stack together with a loose ribbon or a paper band, not a tight rubber band, which dents the edges and turns sticky with age.
Three-dimensional paper shapes cannot be flattened, so give each one its own compartment with a loose nest of tissue around it. Never stack anything on top.
Felt and fabric
Felt forgives squashing but not dirt or damp. Check that each piece is clean and dry, then store felt ornaments together in a lidded box with tissue between the layers. Wool and wool-blend felt can attract clothes moths, so a box with a well-fitting lid is worth having. Stuffed ornaments should sit on top, where nothing presses them flat.
Natural materials
Pinecones, twigs, seed pods and wood slices are the most likely to bring trouble into a box, because they hold moisture and can shelter tiny insects. Look each one over, shake out loose debris, and let it air in a dry room for a day or two before packing. Store natural ornaments in their own container, away from paper and fabric, and choose a cardboard box over an airtight tub so that any remaining moisture can escape. There is more on preparing them in the guide to pinecone ornaments.
Painted wood and clay
Wrap each painted piece separately in acid-free tissue paper. Ordinary tissue and newspaper can yellow over time, and newsprint ink rubs off onto pale paint. Avoid plastic wrap pressed directly against a painted or sealed surface, since it can stick. Clay ornaments chip at the edges, so give them a cushioned compartment each.
Boxes, dividers and egg cartons
You do not need special containers. What you need is a rigid box and a way to stop ornaments from knocking together.
- Divided boxes: a sturdy box with cardboard dividers gives each ornament its own cell. To make dividers, cut strips of cardboard as tall as the box, cut slots halfway through each strip at even spacing, and slide the strips together into a grid. Cutting cardboard with a craft knife is an adult job.
- Egg cartons: cardboard cartons are ideal for small ornaments up to about 1 1/2 in (4 cm) across, such as mini pom-poms, bells and beaded pieces. Use clean, dry cartons only.
- Shoe boxes: a good size for a dozen medium ornaments wrapped in tissue. Pack heavier items at the bottom and lighter ones on top.
Fill empty space with crumpled tissue so nothing can slide when the box is carried. The contents should not move when you tilt the box gently, but the lid should close without pressing down on anything.
Label by year and by contents
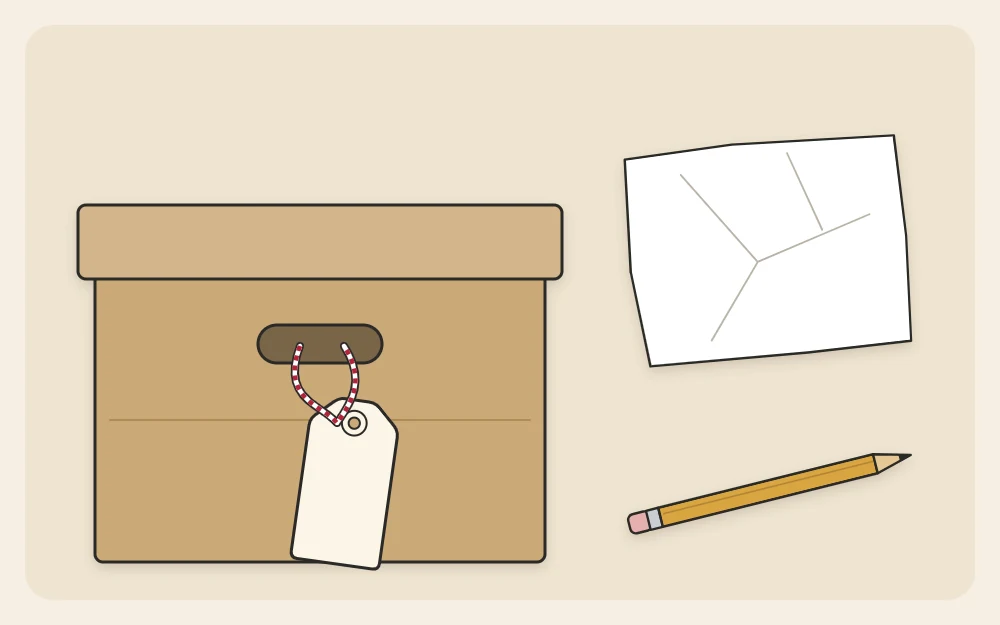
A label saves you from opening every box to find one star. Tie a tag to the handle or stick a label on one end, and write on it what is inside and which layer is fragile. Mark the side that should face up.
Handmade ornaments gain meaning from their history, so note the year and the maker as well. Write lightly in pencil on the back of a paper or wood ornament, or slip a small note into the tissue. This matters most for the pieces described in keepsake ornament ideas, where the date is half the point.
Where to keep the boxes
Choose a cool, dry place away from damp and direct sun. A shelf in a bedroom closet, the space under a bed, or a cupboard in the main part of the house is usually better than an attic, a garage or a basement, where temperature and humidity swing widely through the year.
Keep boxes off the floor if there is any chance of damp, and do not stack heavy things on top of them. Sunlight through a window fades paper and felt surprisingly fast, so a closed cupboard beats an open shelf.
Tip
Put the ornament boxes away last and at the front of the cupboard. They will be the first thing you reach next year, and nothing heavy will have been piled on them.
A check-and-repair routine for unpacking
Set aside ten minutes when the boxes come out, before anything goes on the tree.
- Unwrap each ornament over a table and look at both sides.
- Tug each loop gently. Retie any that are frayed, and replace any that have gone brittle.
- Press down lifted paper corners or loose trims with a small dot of white craft glue, and let it dry before hanging.
- Set aside any natural ornament that smells musty or shows spots of mold, and do not put it back with the others.
- Smooth out and save the tissue and dividers, ready for packing up again.
A small repair kit kept in the box makes this easy: a few spare loops, a needle and thread, a glue bottle and a pair of small scissors. Scissors and needles are adult tools, so keep the kit in a closed tin if children help with the unpacking.
Frequently asked questions
What is the best container for storing handmade ornaments?
A rigid box with a lid and cardboard dividers works for most collections, because each ornament gets its own cell. Use cardboard boxes for natural materials so moisture can escape, and lidded boxes for felt. Egg cartons are handy for very small pieces.
Can I store handmade ornaments in the attic or garage?
It is better not to. Attics, garages and basements often swing between hot, cold and humid, which warps paper, softens glue and encourages mold on natural materials. A closet shelf or the space under a bed in the main part of the house is steadier and kinder to handmade pieces.
How do I keep paper ornaments from getting crushed?
Store flat paper ornaments in a single layer between two sheets of stiff card with tissue between them, and keep the stack on top of the box or in its own folder. Give three-dimensional paper shapes an individual compartment padded with loose tissue, with nothing resting on them.