Felt Christmas Ornaments: Cutting, Stitching and Stuffing Basics
The foundation skills behind every stuffed felt ornament: choosing felt, cutting two matching pieces, picking floss and a needle, sewing the edge, stuffing lightly and securing the loop.
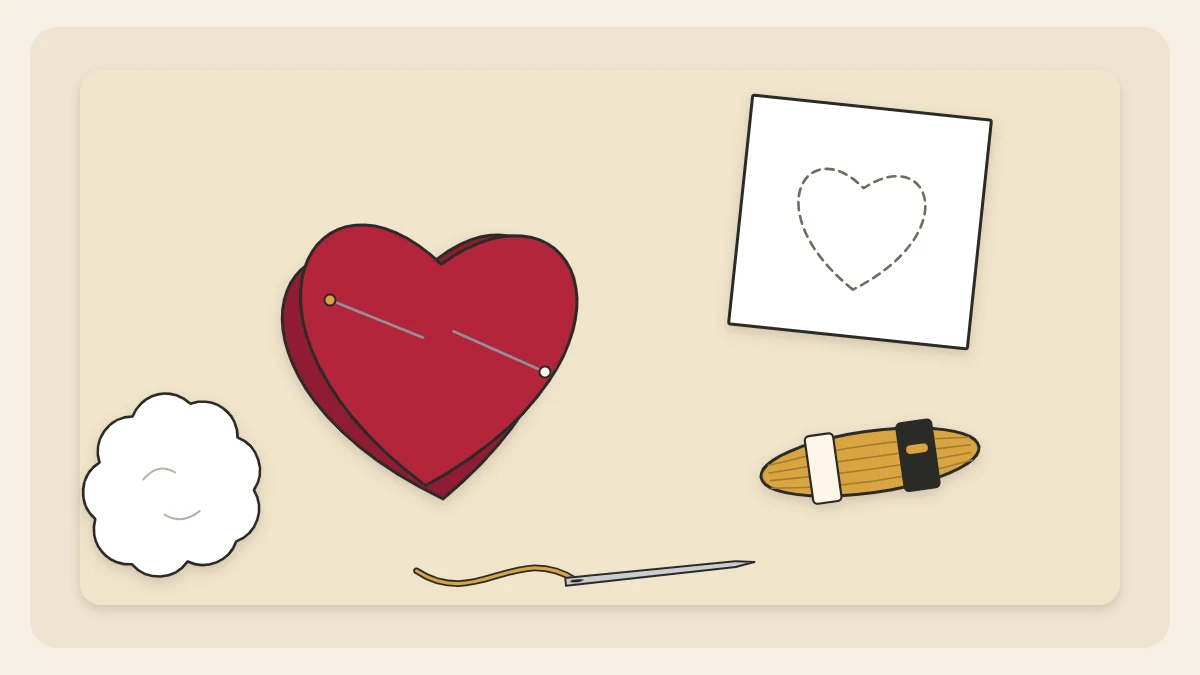
Almost all felt Christmas ornaments are made the same way: two matching shapes, stitched together around the edge, with a little stuffing inside and a loop caught in the seam. Learn that sequence once and a heart, a star, a mitten or a bell is only a change of template.
This page covers the foundation skills in the order you will use them. None of them is hard, but each has a small detail that separates a neat ornament from a lumpy one.
Choosing felt
Felt is made by matting fibers together, so it has no weave and its cut edges do not fray. That is why it needs no hems and why it is so forgiving for a first sewing project. Craft stores usually carry two types.
| Type | Feel | Good for |
|---|---|---|
| Wool-blend felt | Dense, soft and matte; cuts cleanly | Ornaments you hope to keep for years, small shapes, embroidery |
| Acrylic craft felt | Thinner, slightly shiny, a little stretchy | Practice pieces, children’s projects, large batches |
Either works. Acrylic craft felt can pull out of shape if you tug the stitches and may fuzz with handling, so sew it with a lighter hand. Whichever you choose, pick sheets about 1/16 in (1 to 2 mm) thick; thicker felt is awkward to stitch through in two layers.
Cutting two matching pieces
Front and back have to match, or the edges will not line up when you sew. The reliable method is to cut both at once.
- Draw your shape on plain paper and cut it out. Keep it simple: gentle curves and no narrow points for a first project.
- Fold the felt in half and pin the paper template through both layers. Two pins stop it from swiveling.
- Cut around the template with sharp scissors, using long strokes with the middle of the blades and turning the felt, not the scissors, on curves.
- Unpin and check the two pieces against each other. Trim any sliver that overhangs.
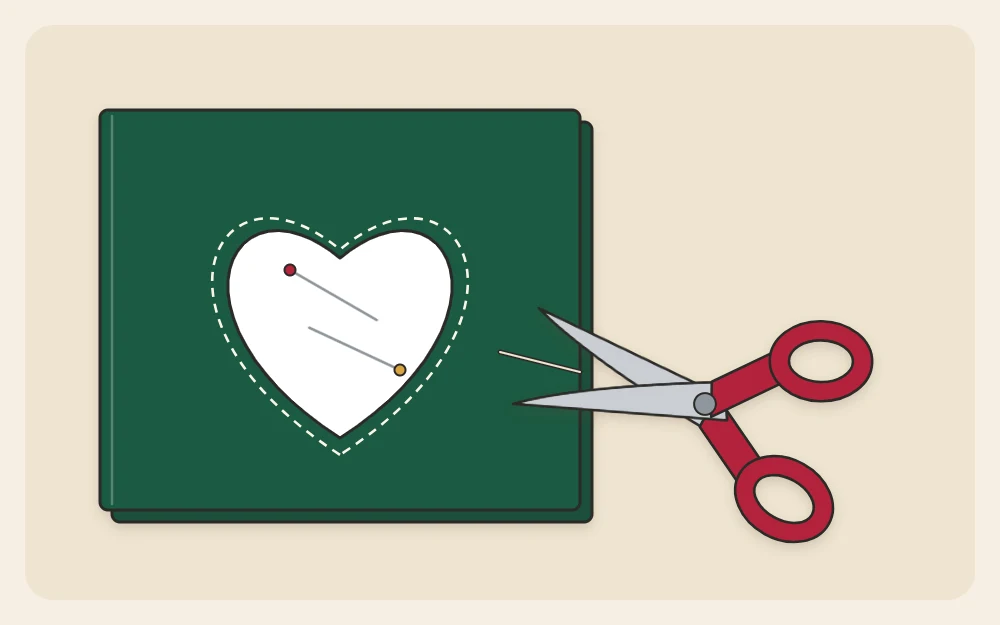
For very small pieces, stick the paper template to the felt with a strip of clear tape and cut through tape, paper and felt together. Sharp scissors and pins are adult tools; children can help choose colors and stuff.
Tip
Keep one pair of scissors for fabric only. Paper dulls blades quickly, and dull blades chew felt instead of slicing it.
Floss and needles
Six-strand cotton embroidery floss is the standard thread for felt. It is made of six loose strands that you can separate. Use two strands for a fine seam on small ornaments and three for bolder, more visible stitches.
Cut a length about 18 in (45 cm) long; anything longer tangles. Choose an embroidery needle, which has a sharp point and a long eye that takes several strands. A medium size passes through two layers of felt easily. Knot one end of the floss and leave the other as a short tail through the eye.
Running stitch or blanket stitch?
These two stitches cover nearly every felt ornament. Both go through the front and back together, about 1/8 in (3 mm) in from the edge.
Running stitch
Running stitch is a simple up-and-down line: the needle goes down through both layers, comes back up a short distance along, and repeats. Aim for stitches and gaps of equal length, around 1/8 in (3 mm). It is the quickest edge to sew and leaves the two layers slightly open at the rim, like the edge of a sandwich.
Blanket stitch
Blanket stitch wraps thread over the edge, so it closes the rim and gives a finished, corded outline.
- Start between the layers and bring the needle out through the front, 1/8 in (3 mm) from the edge, so the knot is hidden inside.
- Move about 1/8 in (3 mm) along. Push the needle through both layers from front to back, the same distance in from the edge.
- Before pulling tight, pass the needle through the loop of floss lying at the edge.
- Pull until the floss sits snugly along the rim without puckering the felt. Repeat.
Use running stitch when you want speed or a rustic look, and blanket stitch when the edge is a feature. Even spacing matters more than tiny stitches with both.
Catching the loop in the seam
A loop stitched into the seam is far more secure than one glued on afterward. Cut about 7 in (18 cm) of narrow ribbon, twine or floss and fold it in half. Tuck the two cut ends 3/8 in (1 cm) down between the felt layers at the top center, and pin.
When your stitching reaches that point, make two or three stitches straight through the front, both ribbon ends and the back. Give the loop a gentle tug to make sure it is held.
Stuffing lightly
Stop sewing when a gap of about 1 in (2.5 cm) remains, and leave the needle threaded. Polyester fiberfill is the usual filling. Tease it apart and feed in small pinches, pushing them into corners and points first with the blunt end of a pencil.
Felt ornaments look best gently padded, not firm. The ornament should be softly rounded, around 3/8 in (1 cm) thick at the center, and the edges should still lie flat. Overstuffing strains the seam and makes the stitches gape.
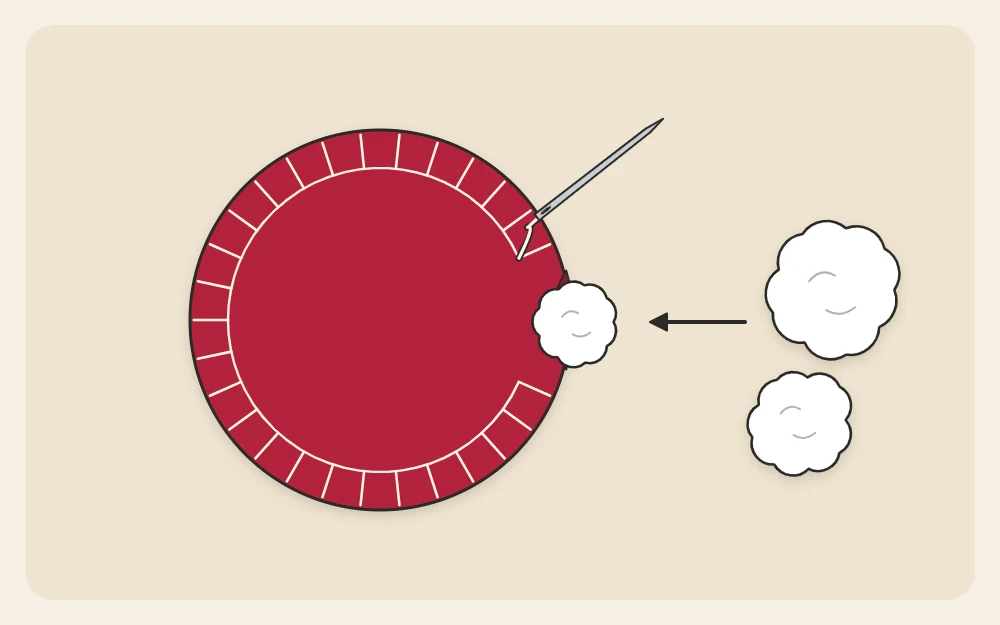
Closing the gap
Hold the opening closed between finger and thumb and continue the same stitch across it, keeping the spacing consistent so the join is invisible. When you reach your first stitch, link into it, then finish securely:
- Take a tiny stitch through the back layer only, right at the seam, and pass the needle through the loop to form a knot. Do this twice.
- Push the needle in at the knot, between the layers, and bring it out about 1 in (2.5 cm) away.
- Pull gently and snip the floss close to the felt. The tail disappears inside the ornament.
Where to go next
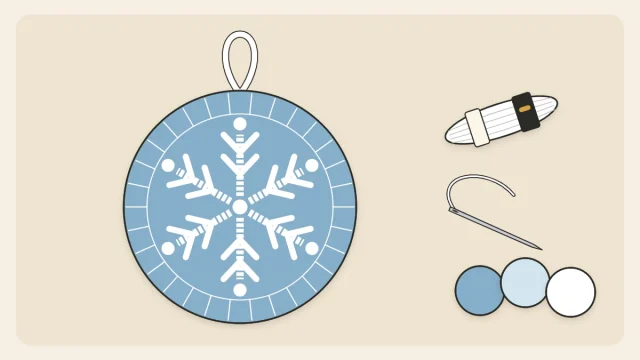
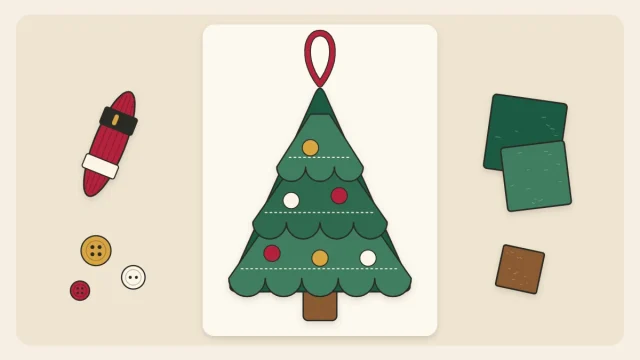
With these steps in hand, try a project that adds one new skill at a time. The felt tree ornament layers decorative pieces on the front before assembly, and the felt snowflake ornament introduces simple embroidery on a circle. If you are still gathering tools, the list of ornament making supplies shows what is worth having on hand.
Frequently asked questions
How many strands of embroidery floss should I use on felt?
Two strands give a fine, tidy seam on small ornaments, and three strands make the stitches stand out as part of the design. All six strands are usually too thick to pull through two layers comfortably. Separate the strands one at a time to avoid tangles, then put them back together.
Do felt ornaments have to be stuffed?
No. Two layers stitched together without filling make a flat ornament that is quick to sew and easy to store, and it suits embroidered designs well. A small amount of polyester fiberfill adds a soft, rounded look. Both hang the same way, so choose whichever suits the shape.
How do I keep blanket stitches even?
Decide on one spacing, such as 1/8 in (3 mm), and use it for both the depth and the distance between stitches. Some beginners mark light dots with a chalk pencil first. Pull each stitch to the same gentle tension and slow down on curves, where stitches tend to crowd together.