Yarn Pom-Pom Ornaments: Soft Baubles and Clusters
Make fluffy pom-poms with a fork or two cardboard rings, trim them into neat spheres, and hang them as single baubles, clusters of three or a small ring.
Tutorial at a glance
Materials
- Medium-weight yarn
- Dinner fork
- Stiff cardboard for two rings
- Sharp scissors
- Pencil
- Blunt yarn needle (for the ring)
Soft, light and impossible to break, yarn pom-pom ornaments are a good answer for the lower branches of the tree, where little hands and wagging tails tend to reach. They need only yarn and scissors, and a dinner fork does the job of a special tool.
Two methods follow: a fork for small pom-poms and a pair of cardboard rings for larger ones. After that come three ways to turn them into ornaments: a single bauble, a cluster of three and a small ring.
What you need
- Medium-weight yarn in one or more colors
- A dinner fork with four tines (for small pom-poms)
- Stiff cardboard, a pencil and two round objects to trace (for larger pom-poms)
- Sharp scissors, ideally small ones with pointed tips
- A blunt yarn needle with a large eye (for the ring only)
As a rough guide, a small fork pom-pom uses about 5 yards (4.5 m) of yarn and a 2 1/2 in (6.5 cm) one uses 20 to 30 yards (18 to 27 m). Amounts vary with yarn thickness and how full you like them. Sharp scissors are an adult tool; children can do the winding.
Small pom-poms on a fork
A standard dinner fork makes a pom-pom about 1 1/4 in (3 cm) across after trimming.
- Cut a 12 in (30 cm) strand of yarn for the tie and set it aside.
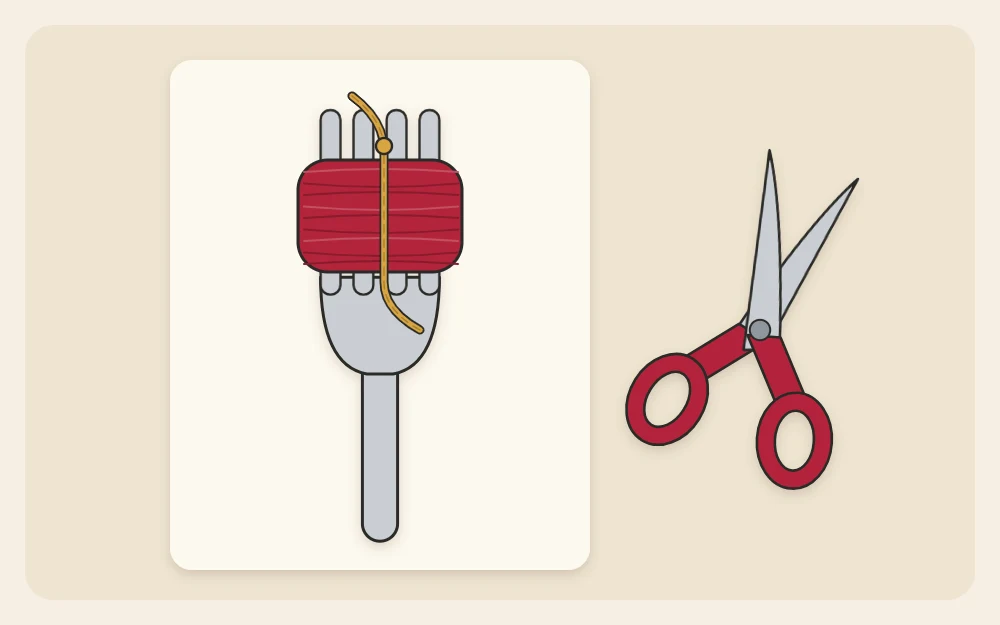
- Hold the yarn end against the fork handle with your thumb. Wind the yarn around all four tines, across their width, about 60 to 70 times. Keep the wraps in the middle of the tines and build a fat, even bundle. Cut the yarn.
- Thread the tie strand through the center gap between the tines, on the handle side of the bundle. Bring one end up the front of the fork and the other up the back, so the strand circles the middle of the wraps.
- Pull the ends as tight as you can and knot them above the bundle. Take the ends around the middle once more and knot again. A tight tie is the whole secret; a loose one sheds strands later.
- Slide the bundle off the fork. You now have a tied bundle with a loop of yarn at each side.
- Slip one scissor blade into the loops on one side and cut through all of them. Do the same on the other side. Do not cut the two long tie tails.
Larger pom-poms on cardboard rings
For a pom-pom about 2 1/2 in (6.5 cm) across, wind around two matching cardboard rings.
- On stiff cardboard, trace a circle 3 in (7.5 cm) across. Draw a 1 in (2.5 cm) circle in its center. Cut out the ring, then cut a second one to match.
- Cut a slit about 1/4 in (6 mm) wide through each ring, from the outer edge into the hole, so each looks like the letter C. The gap lets you wind without threading yarn through the middle.
- Stack the rings with the gaps lined up. Wind yarn around both together, passing it through the gap, back and forth from one end of the C to the other. Keep going until the center hole is nearly filled. More yarn makes a denser pom-pom.
- Hold the wound rings flat. Push a scissor blade between the two rings at the outer edge and cut the yarn all the way around, keeping the blade in the channel between the cards.
- Slide a 14 in (35 cm) strand of yarn between the two rings, wrap it around the middle twice, pull very tight and tie a double knot.
- Ease the rings off. If they are undamaged, you can reuse them.
Watch out
Keep a firm hold on the center of the rings while cutting. Until the tie is knotted, nothing but the cardboard holds the strands in place.
Trimming into a sphere
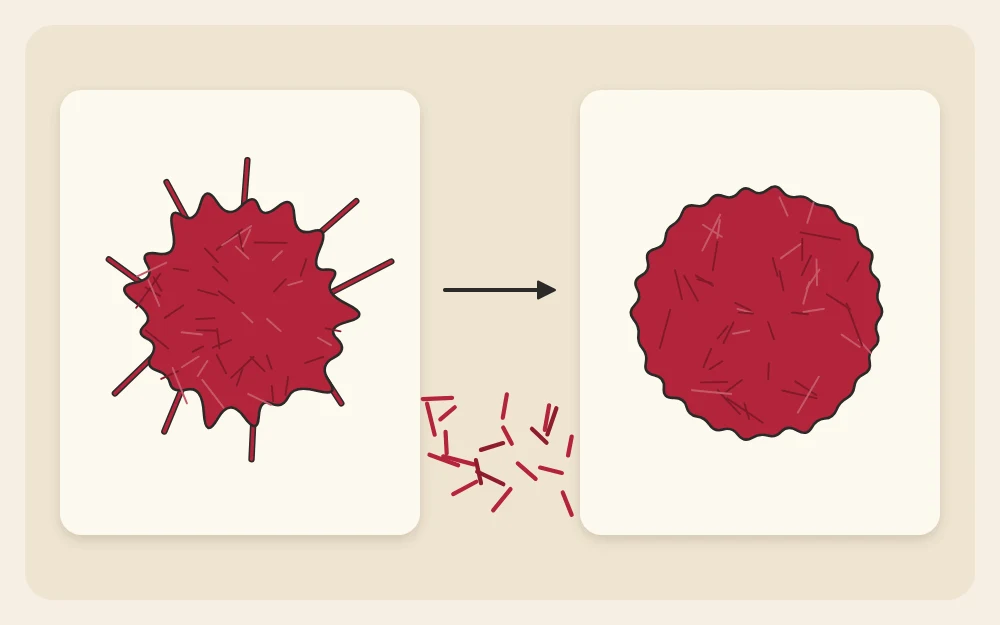
A freshly cut pom-pom looks shaggy and lopsided. Trimming is what makes it round, and it takes more cutting than most people expect.
- Fluff the pom-pom by rolling it gently between your palms.
- Hold it by the two long tie tails and keep them out of the way.
- Snip off anything that sticks out, turning the pom-pom a little after each cut, as if you were peeling an apple. Take off small amounts at a time.
- Roll it again, look at the outline from several sides and trim the high spots. Stop when the silhouette is round from every angle.
Work over a tray or a sheet of paper, because the clippings travel. Expect to lose about a quarter of the size; a tighter trim gives a firmer, velvety ball.
Three ways to hang them
Single bauble
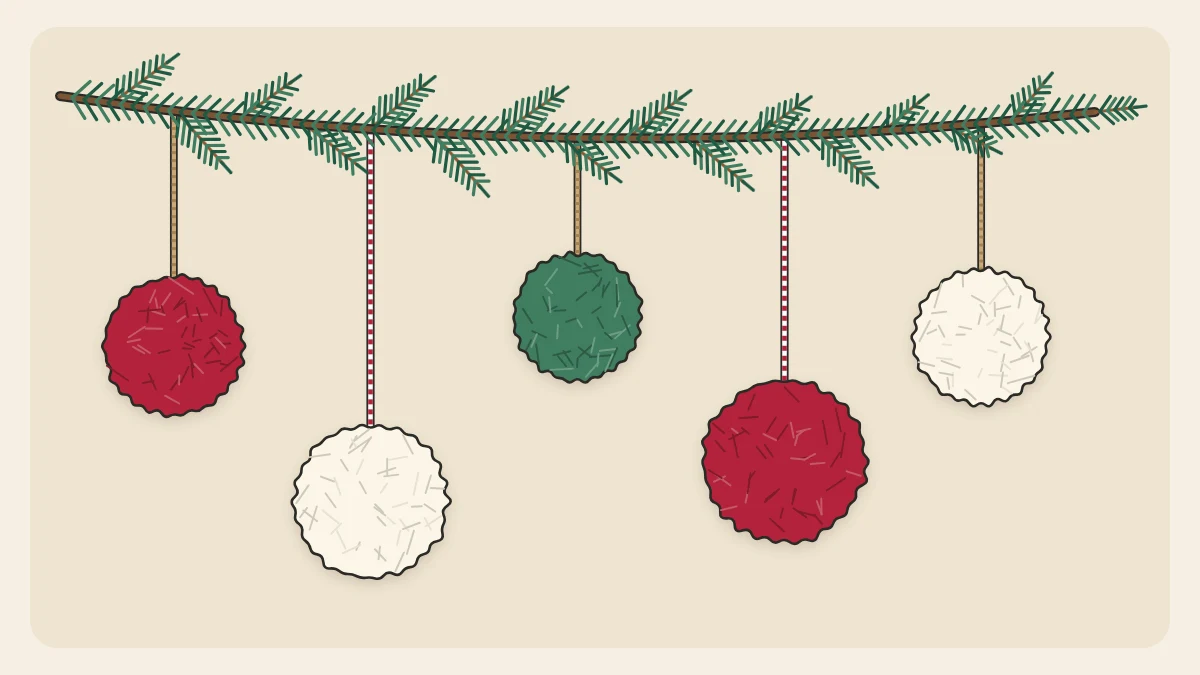
Knot the two long tie tails together about 3 in (7.5 cm) above the pom-pom and trim the ends just past the knot. That is the hanging loop, already anchored at the strongest point. One large pom-pom in a solid color makes a simple, soft bauble.
Cluster of three
Make three fork pom-poms in different colors. Hold them by their tails so they hang at slightly different heights, roughly 1/2 in (12 mm) apart, then tie all six tails together in one overhand knot. Tie a second knot about 3 in (7.5 cm) above the first to form the loop and trim the ends.
Small pom-pom ring
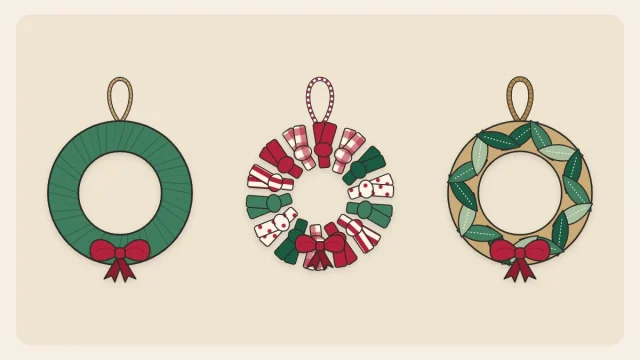
Make seven or eight fork pom-poms and trim their tie tails short. Thread a blunt yarn needle with 20 in (50 cm) of yarn and push it through the center of each pom-pom in turn, beside the tie. Slide them together, draw the yarn into a circle and knot it firmly. Tie the leftover ends into a loop. For sturdier wreath shapes on a cardboard base, see mini wreath ornaments.
Color and yarn ideas
- Wind two strands of different colors together for a speckled pom-pom.
- Wind one color, then a second on top, for a ball with a contrasting band.
- Smooth yarn gives a crisp, dense finish; fluffier yarn gives a softer outline and hides uneven trimming.
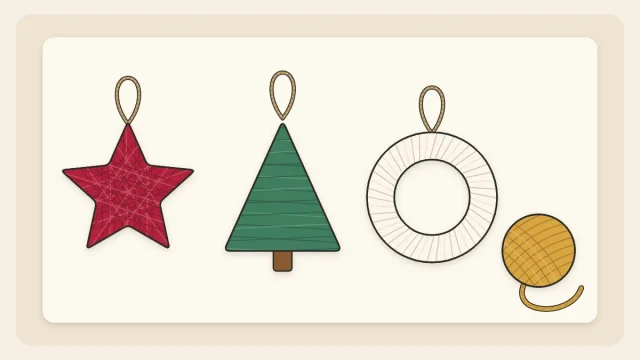
Short lengths of yarn that are too small for winding can go toward yarn-wrapped ornaments instead.
Keeping them fluffy
Pom-poms flatten if they are pressed under heavier decorations. Store them loosely in their own box, in a cool, dry place away from damp and direct sun, and roll them between your hands to revive the shape next year. More packing ideas are in the guide on how to store handmade ornaments.
Frequently asked questions
How many times do you wrap yarn around a fork for a pom-pom?
With medium-weight yarn, about 60 to 70 wraps around all four tines gives a full, round pom-pom. Thicker yarn needs fewer turns and thin yarn needs more. If the finished ball looks sparse, add around 20 extra wraps on the next one.
Why does my pom-pom fall apart?
The center tie is almost always the cause. It has to be pulled as tight as the yarn allows and knotted twice, so every strand is pinched in the middle. Use a strong, smooth yarn for the tie, and knot it on both sides of the bundle.
How do you get a pom-pom perfectly round?
Trim more than feels natural. Fluff the pom-pom, hold it by the tie tails and snip small amounts while turning it constantly. Check the outline from several sides and cut down the high spots. A closer trim makes a smaller but denser, rounder ball.